How to Upload Images
Images Uploading
Uploading images is a major part of creating a website, there are three different ways of uploading them. This page will show you how to create and use images for different rows on your pages. See here for a video tutorial, or below for written tutorials.
Step 1: Navigating to Media Library
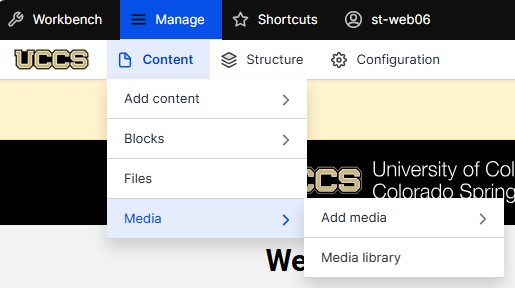
Select Manage at the top of your editing screen and select the Content dropdown menu. On that menu, select the Media button which will redirect to the media page.
Step 2: Selecting Image
Select Add Media at the top of the page and select Image, the fifth row down.
Step 3: Inputting Image Information
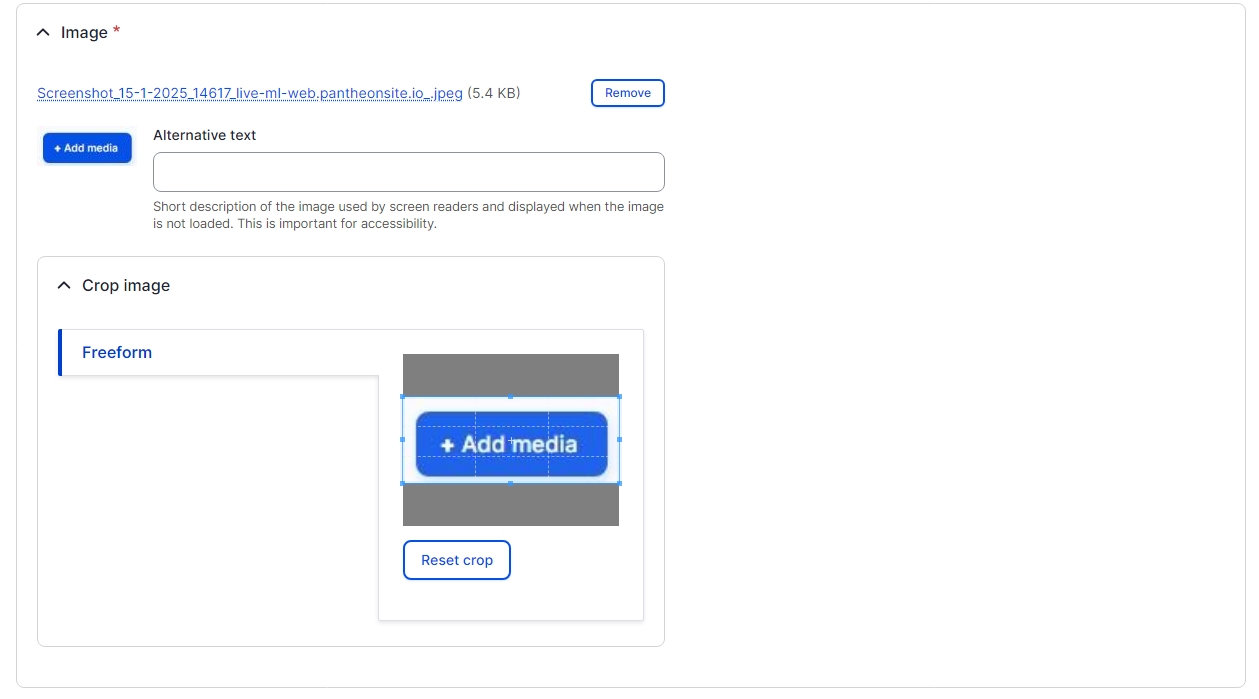
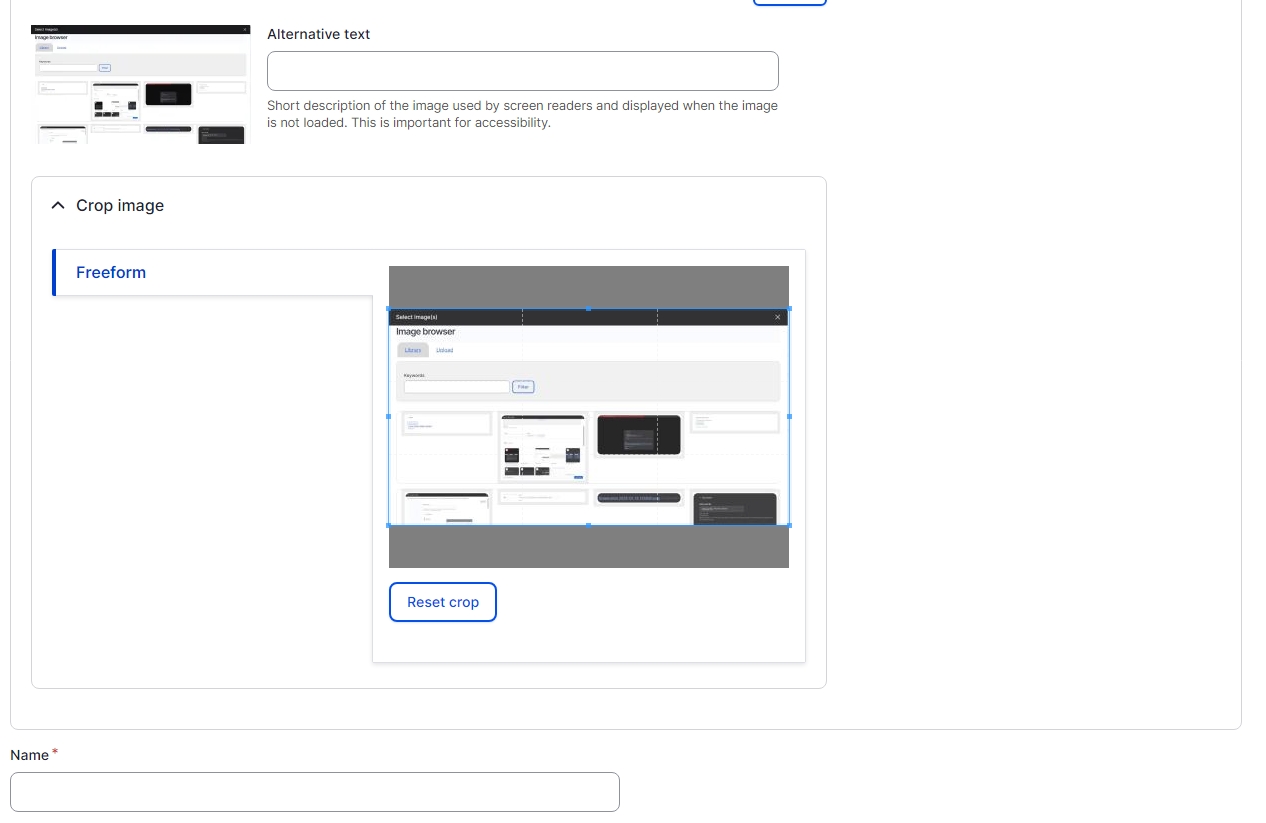
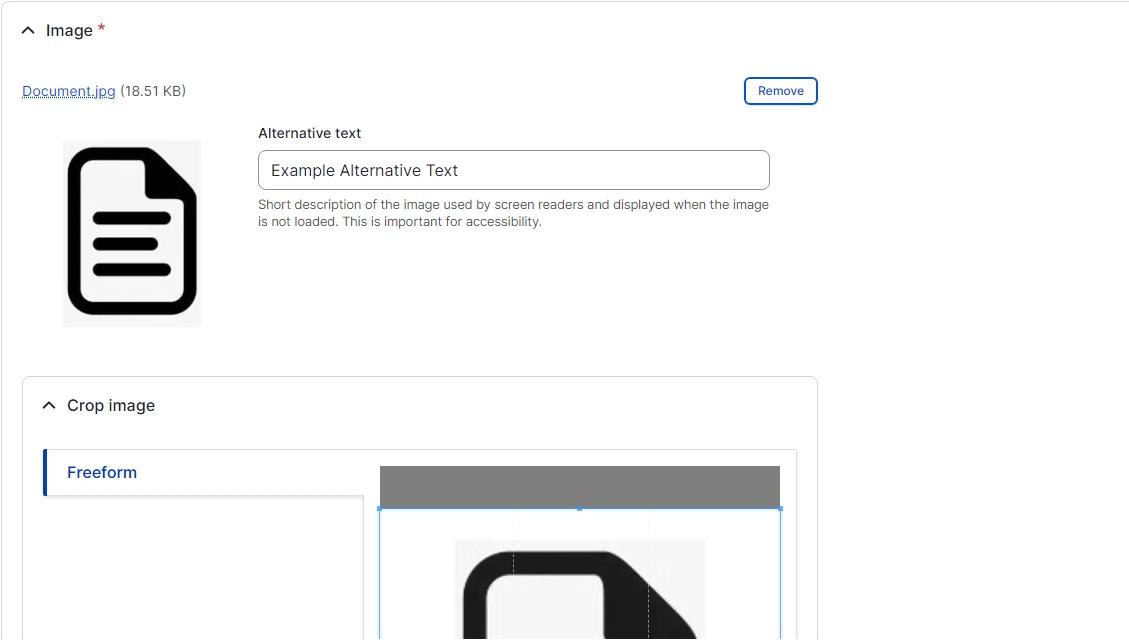
Select Choose File and select the file of the image you wish to upload. The page will show a thumbnail of your image, the cropping feature does not work here. Insert Alternative Text, which is text that will appear on screen readers and pages where the image cannot upload. Be sure to give a detailed description of the image for accessibility of the user.
Create a Name for your image and select Save at the top of the screen. It is not recommended to write a caption so leave that blank. The image will now show in any image library.
Step 1: Navigating to Select Images
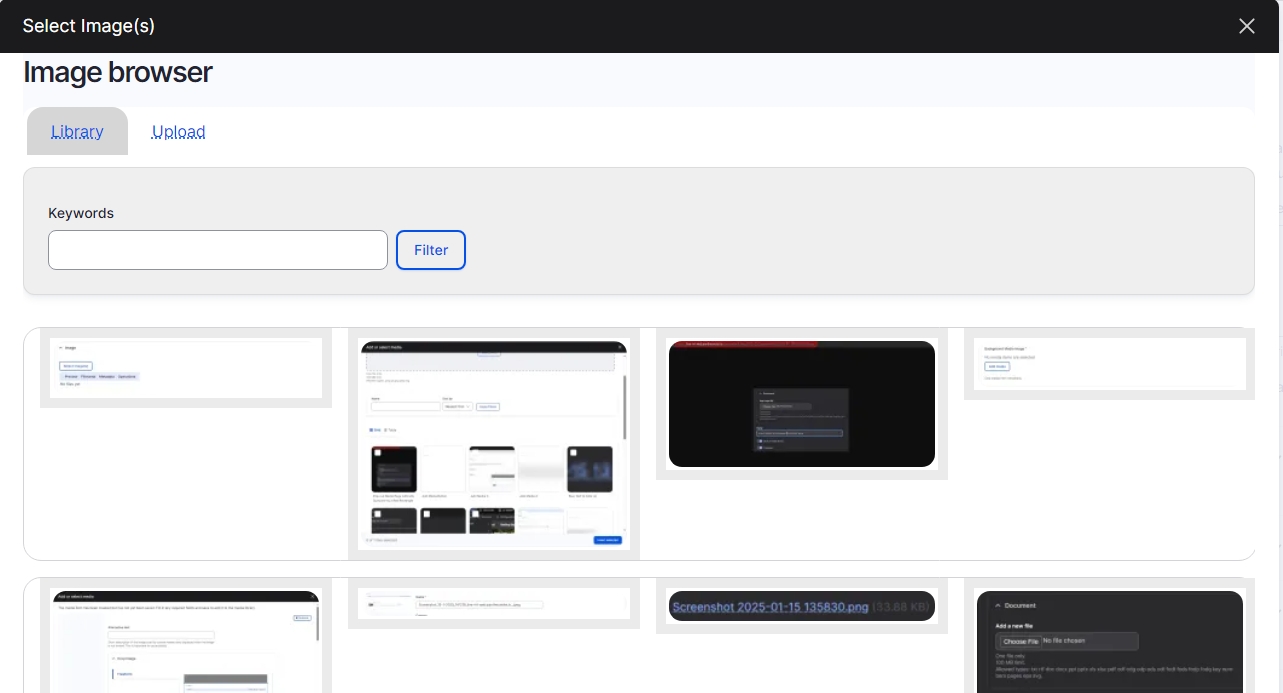
If a row has the Select Image(s) option, you can add images to it if the image has been uploaded or needs to be uploaded. Select the button, and an Image browser will appear.
If the image has already been uploaded select the image and click, Select. The image will need an Alternative Text which is a brief but thorough description of the image. Be sure to add alternative text for accessibility and screen readers. If the image needs to be uploaded select the Upload button at the top.
Step 2: Uploading the File
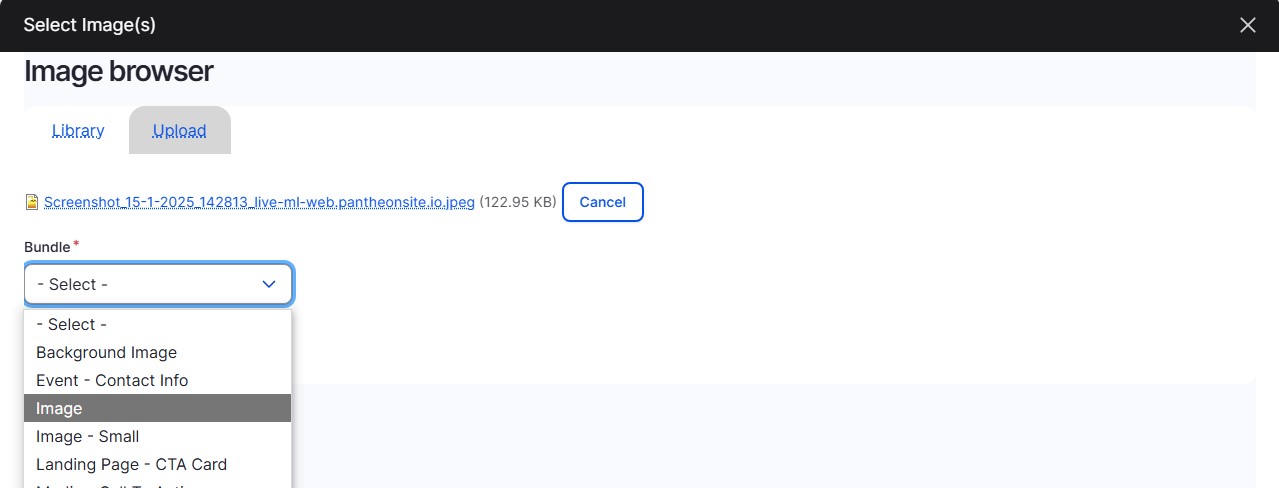
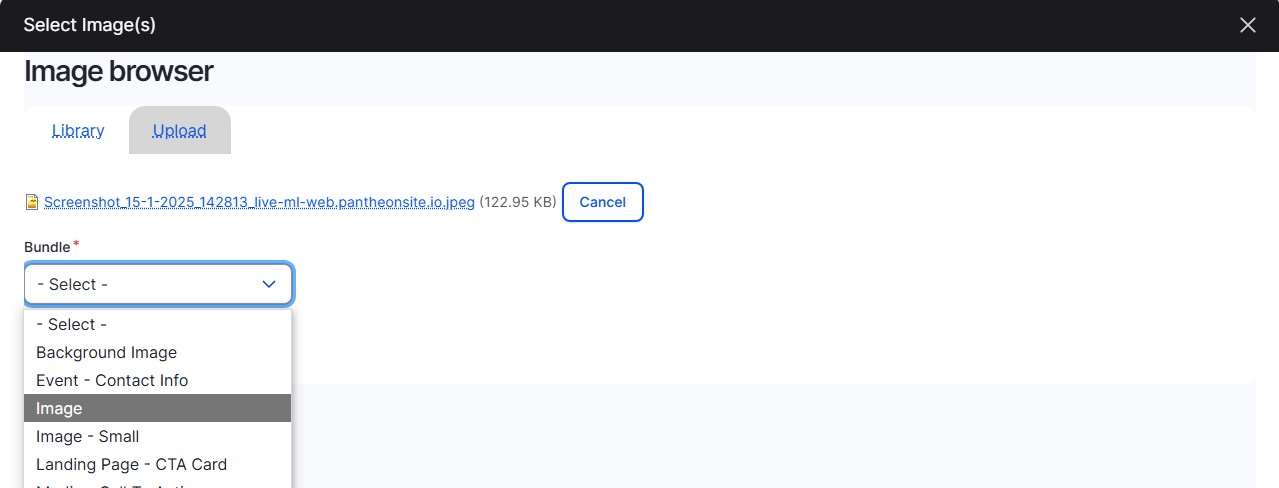
Once on the Upload screen, select Choose File. Select the file of your image. Under the Bundle dropdown select Image the third option down.
Add Alternative text which is a brief but thorough description of the image. Be sure to add alternative text for accessibility and screen readers. Give a Name for your image and select the Select button at the bottom of the screen.
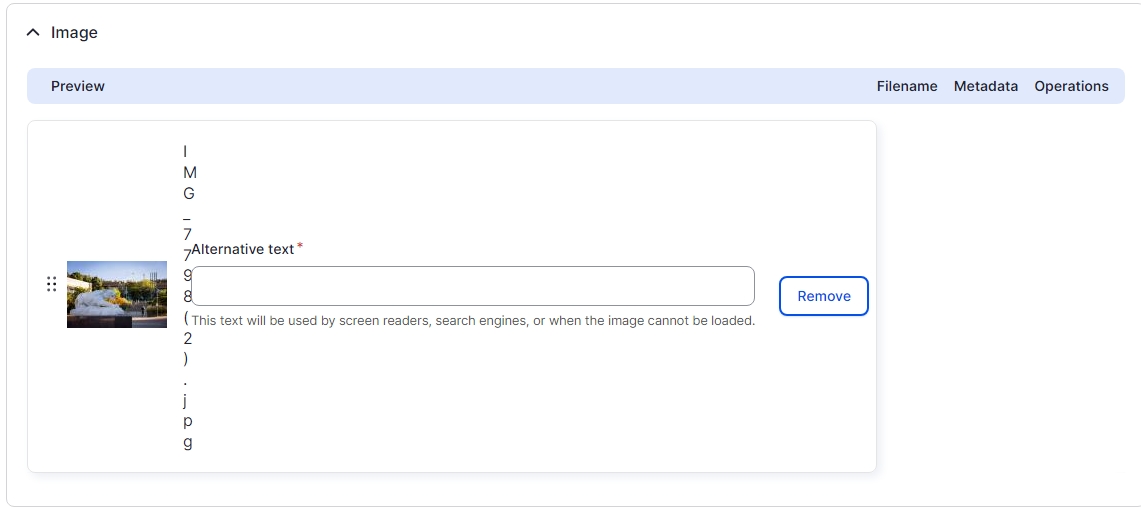
This will upload the image on the row, but it will still need another Alternative text which can be the same as the Alternative text written before.
Step 1: Add Media Button
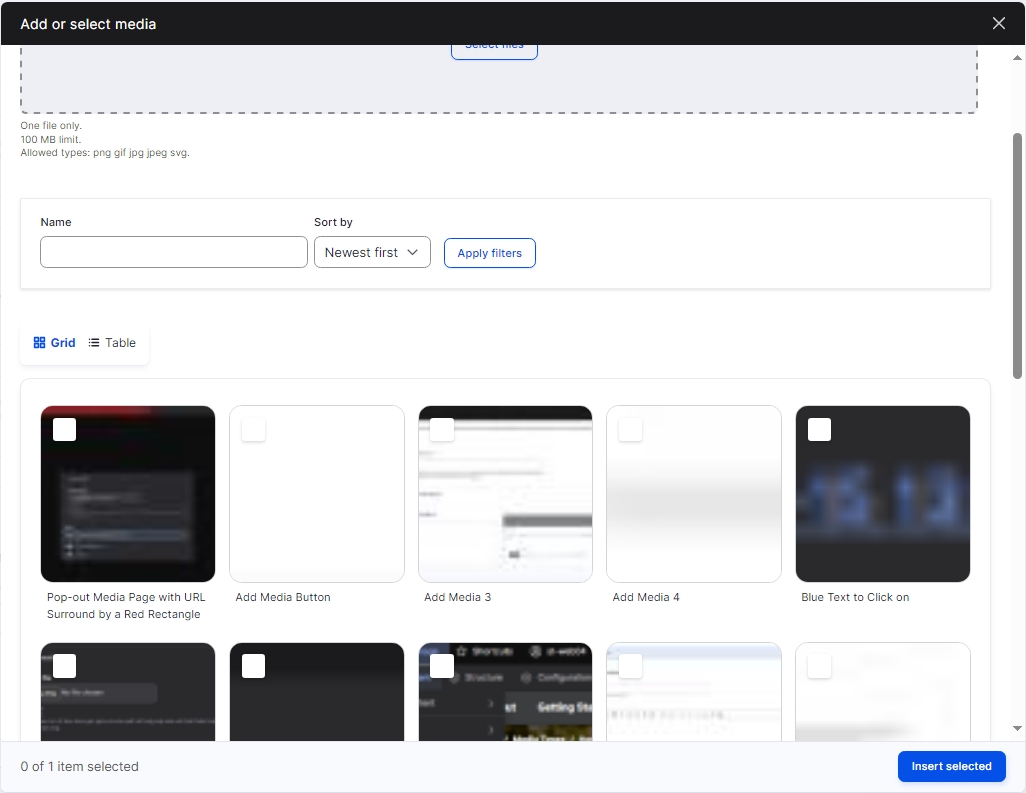
If there is a Add media button, which is usually on Hero Images or other rows, it is very similar to the Select Image(s) button but uploads a little differently. Select Add media which will show an Add or select media window.
If the image has already been uploaded select the image and select Insert selected at the bottom of the window.
Step 2: Uploading Your Image
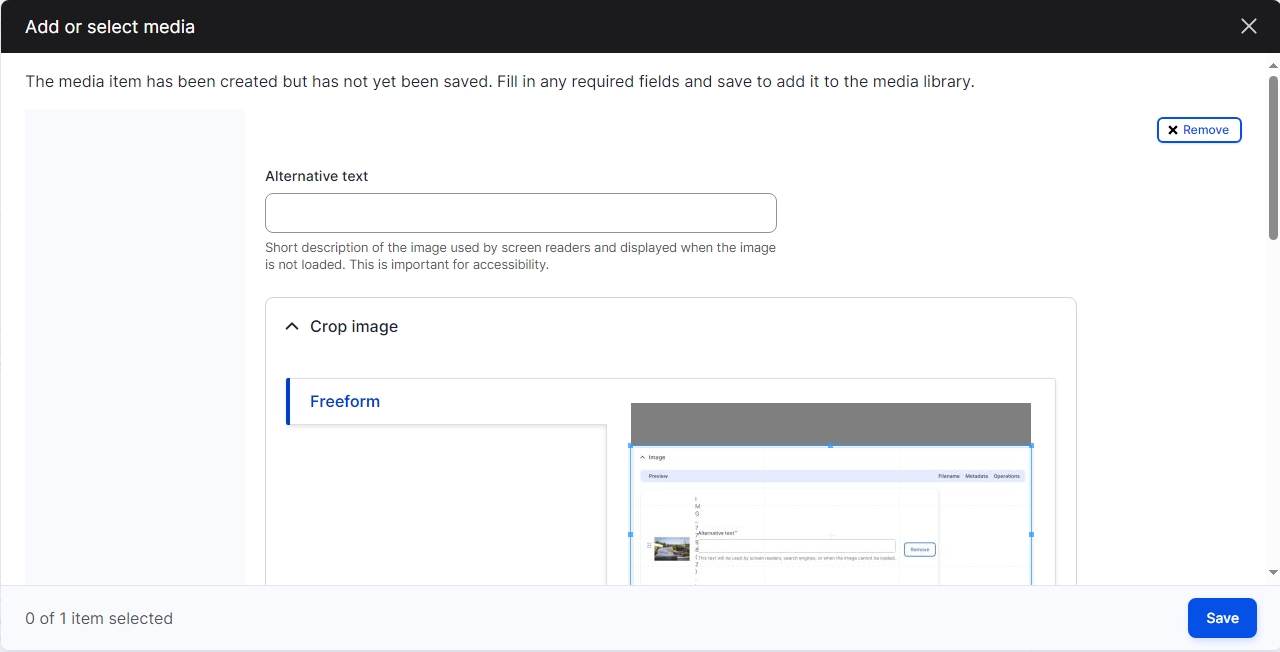
If the image has not been uploaded, drag the image file into the Add file box at the top of the screen or select Select files and select your image file you wish to upload. A new window will pop up with a thumbnail of the image. The cropping feature does not work and should not be used here. Insert Alternative text which is a brief but thorough description of the image that is used for screen readers and accessibility. Add a Name for your image and select Save at the bottom of the screen. It is not recommended to input a caption. Once it has been uploaded, it will show in the image library and can be selected.
Step 1: Inserting Image
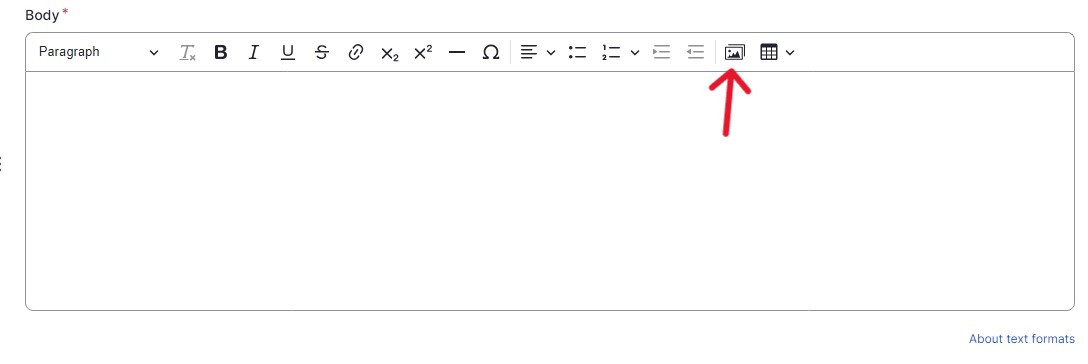
Select the Image Icon in the Body text area to add an image to a List Item.
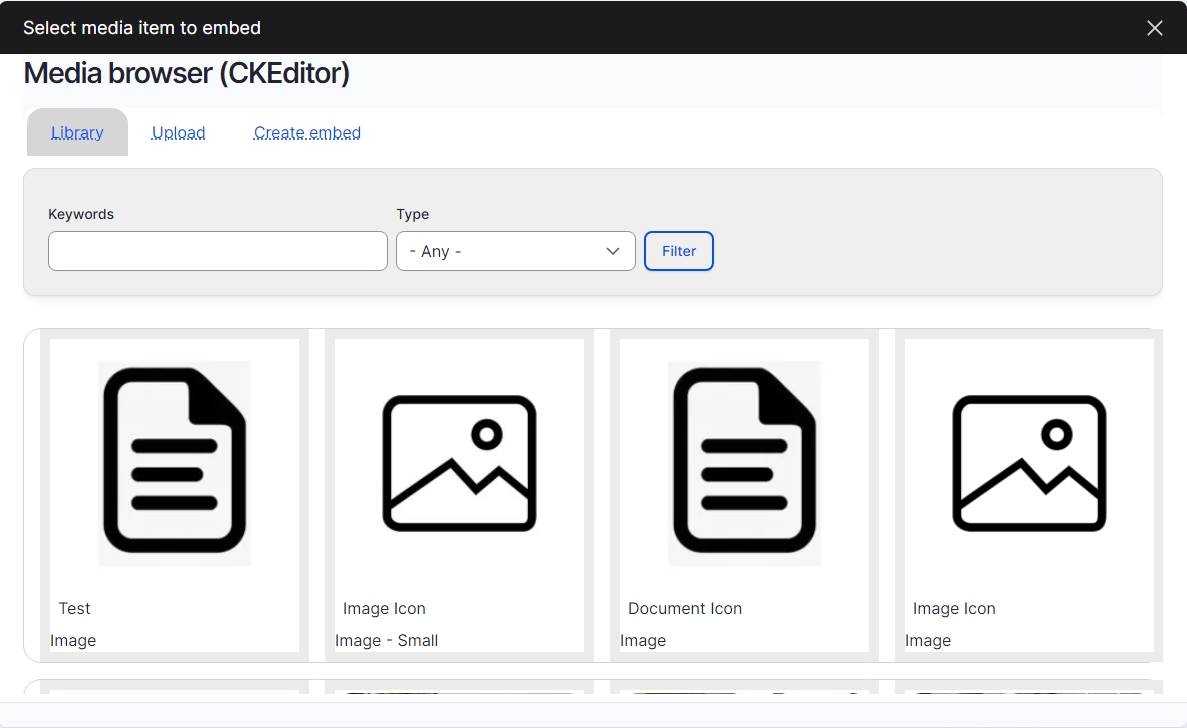
Step 2: Selecting Image from Media Browser
If the image has already been uploaded, select it and select the blue Place button. This will show a new window for the image settings.
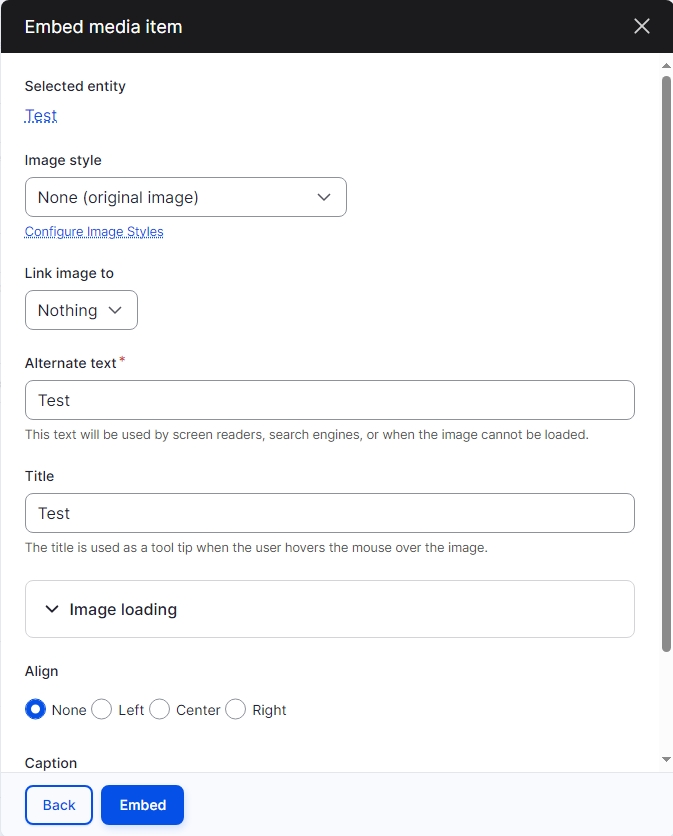
Step 3: Image Style
Once in that window, select an Image Style, a Title, Alignment, and insert Alternative Text which is a short but thorough description of the image. Once everything has been selected click Embed.
Image Uploading
If the image has not been uploaded, select the Upload button at the top of the window. Select Choose file and select the file of the image to upload. Once selected, under the Bundle dropdown select Image.
Step 2: Giving the Image a Title and Alt Text
Next, give the image a Title and Alternative Text which is a brief but thorough description of the image.
Step 3: Placing the Image
After this, select Place which will show the same window as in the previous step.
