Person Profile
Step 1: Create a New Person Page
At the top of the screen, select Manage and then select the Content dropdown menu. From there, open the Add Content drop down and select Person Profile. This will create a new Person Profile page.
Step 2: Adding Information
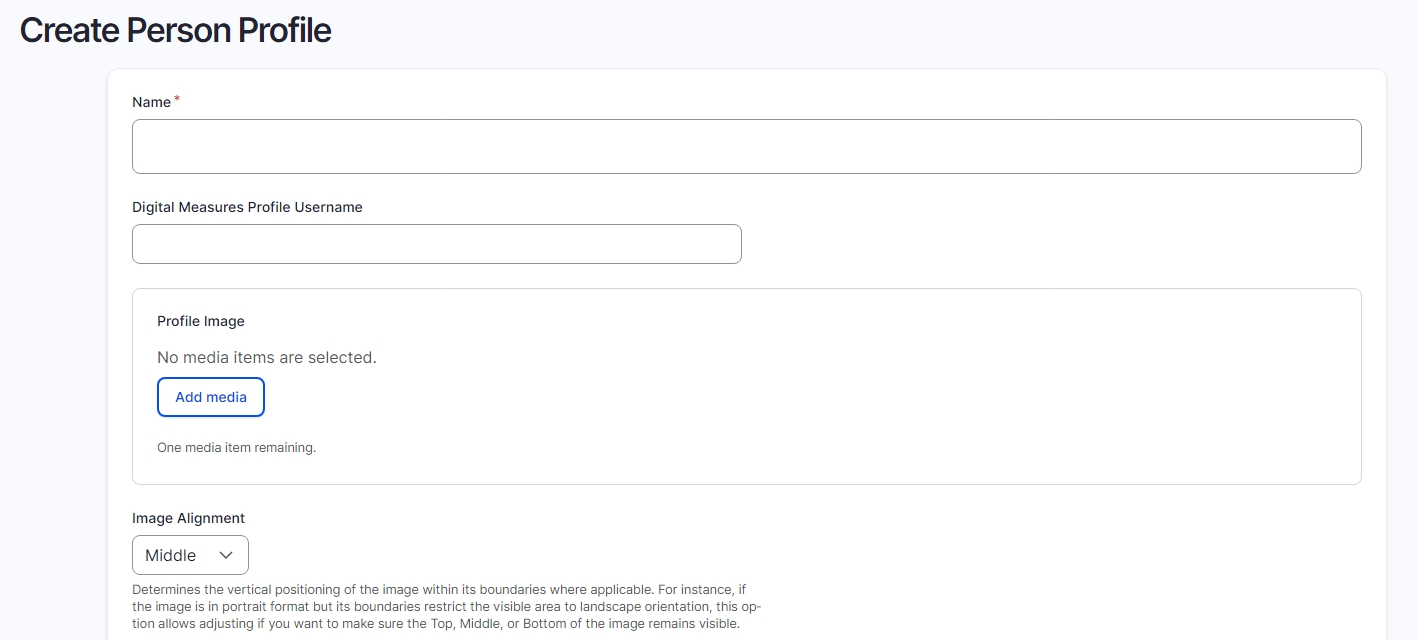
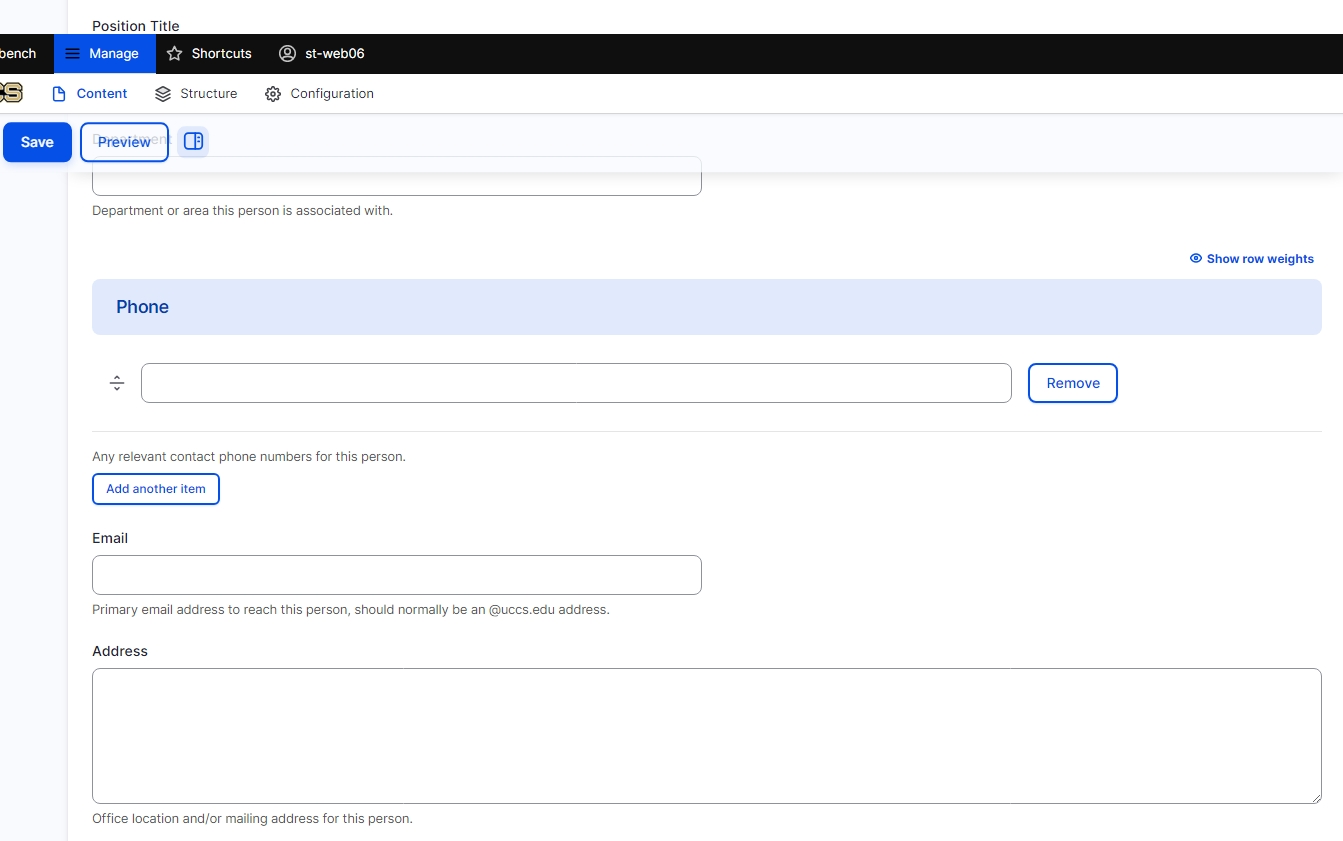
Add the Name of the person and fill in the information of the person in the following fields if applicable: Position Title, Department, Email, and Address. You can also add multiple Phone Numbers by inserting them into the Phone section and selecting Add another item. Select how the personal information will show by selecting the Additional Content Style dropdown and selecting the style desired.
Images
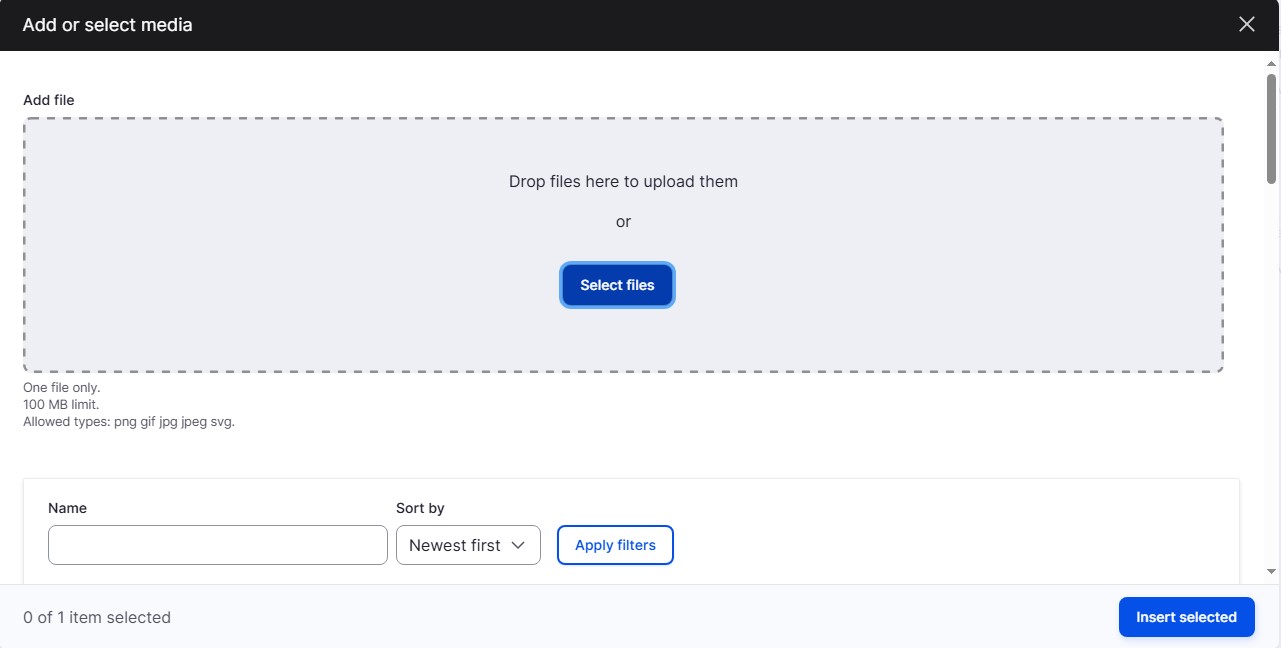
A headshot can also be added by going to the Profile Image and selecting Add media. The image must be uploaded to Drupal or uploaded using the Add file box. For a full tutorial on image uploading see here. The image is very small so should only be a headshot.
Step 3: Adding a Biography
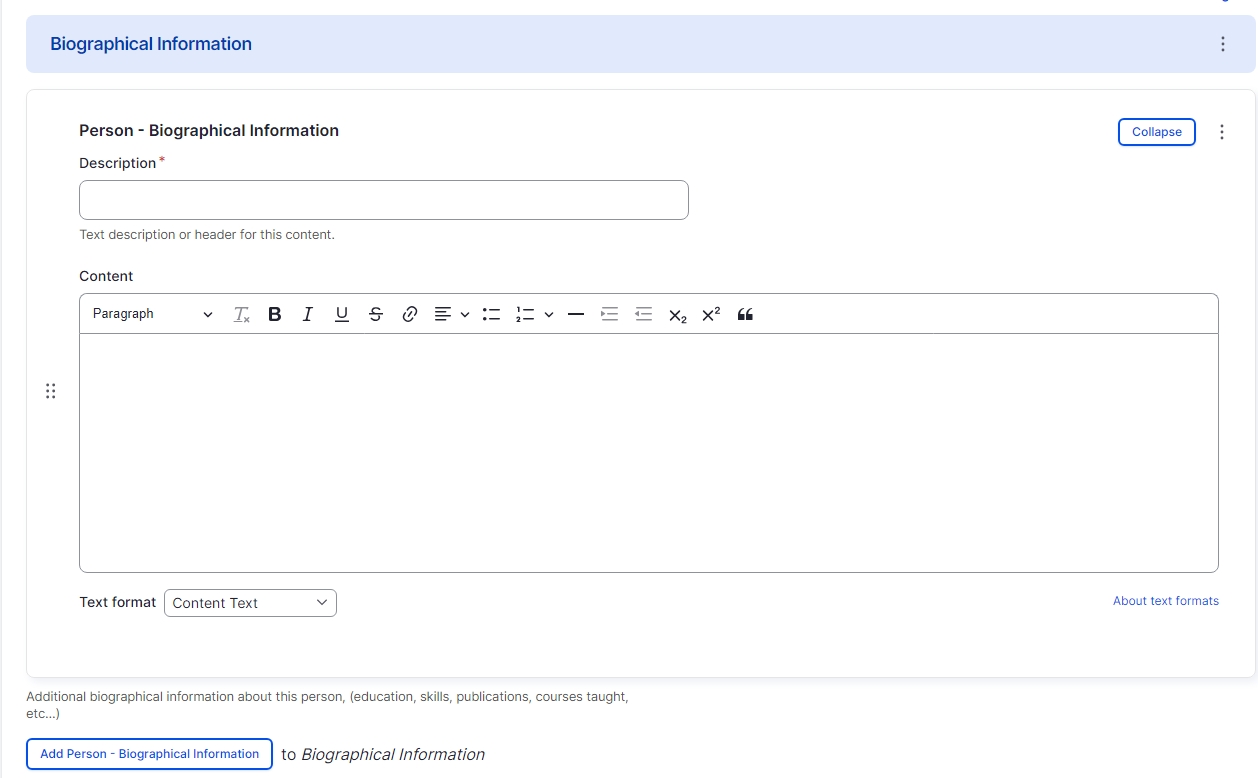
Scroll down to the Biographical Information section. Here you can put information about the person, to do this insert a Description (e.g. 'Responsibilities') and Content. You can create more Biographical Information sections by selecting Add Person - Biographical Information button, and you can remove a section by selecting the Three dots next to the Collapse button and selecting Remove.
Page Editing
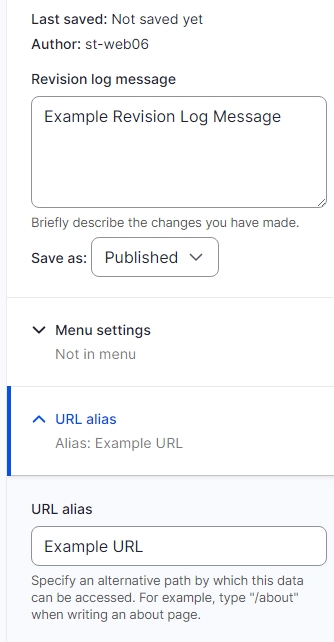
On the right-hand side of the screen, there are tools that will allow you to publish and edit the URL and menu, for a full tutorial see here. To publish the page, select the Save as: dropdown menu and select Published. To change the URL (the link to the page) select the URL alias dropdown and deselect Generate automatic URL alias. You can then create your own URL for that page, for a full tutorial see here. Once everything has been updated select the blue Save button at the top left of the screen.
