Photo Gallery
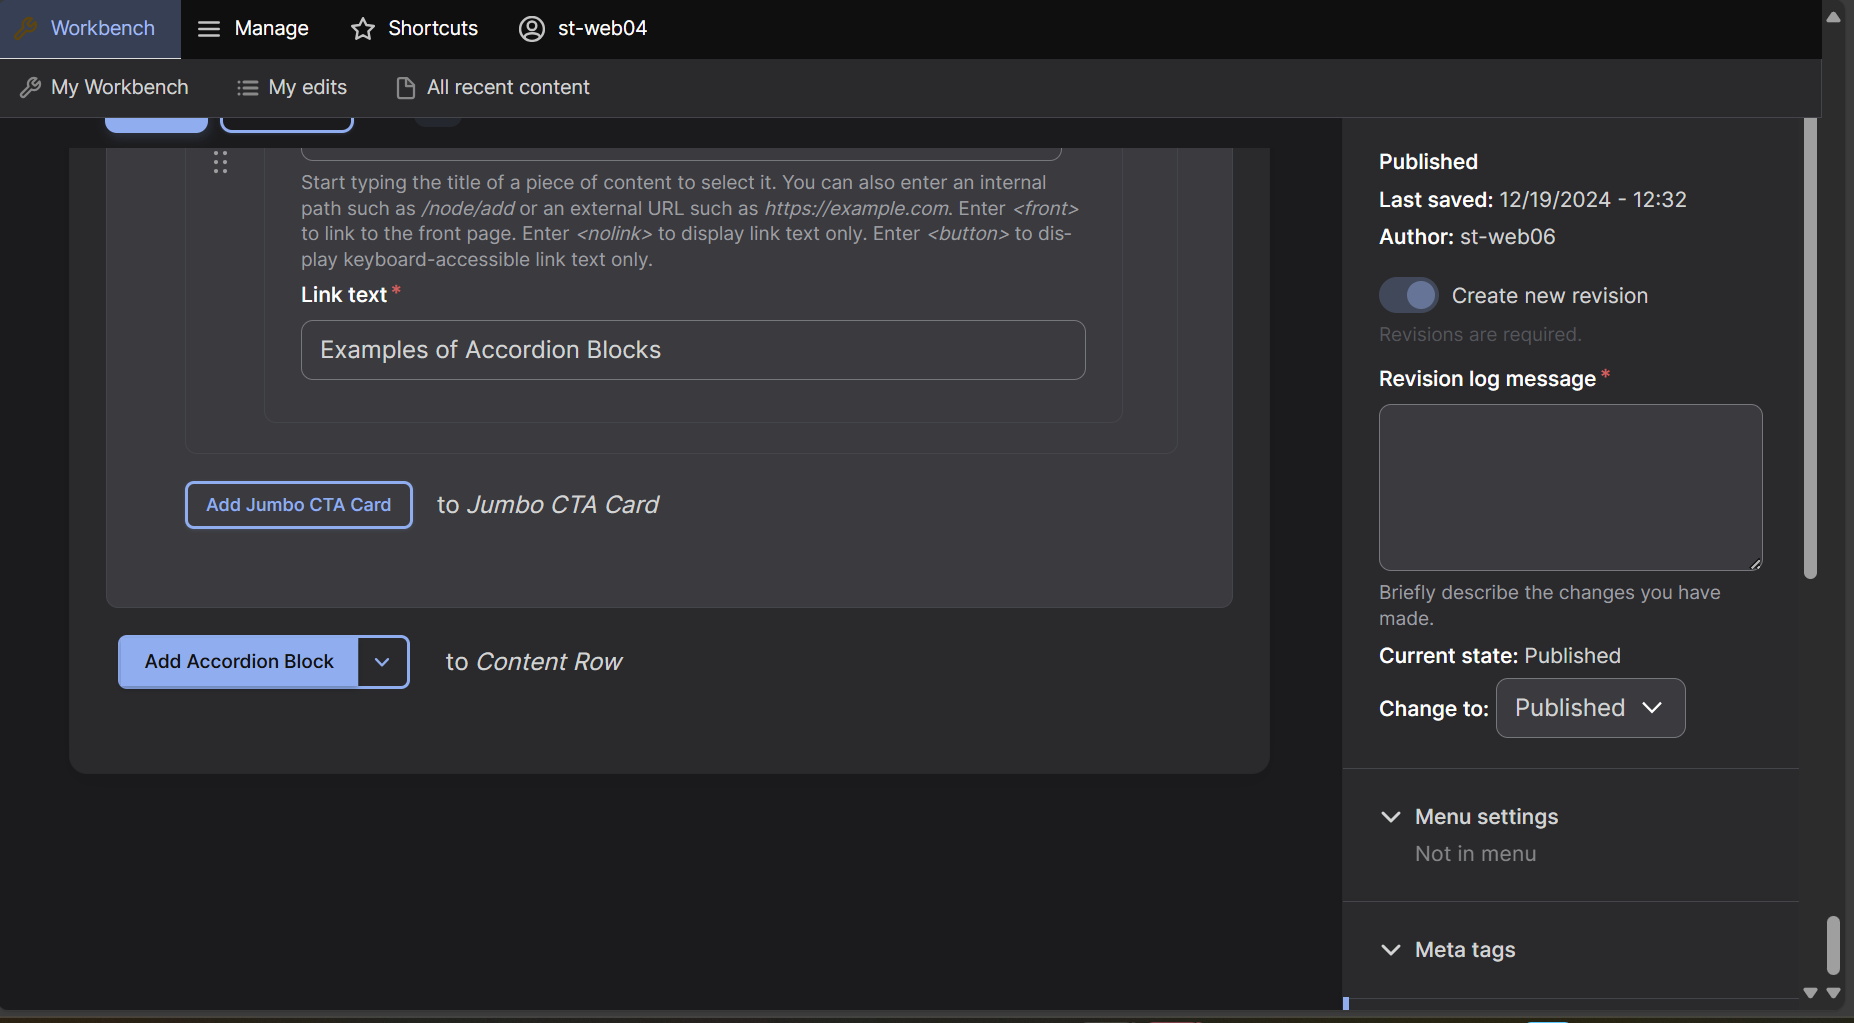
Step 1: Find the Add Block Button
At the bottom of the editing screen select the arrow box next to the "Accordion Block" box.
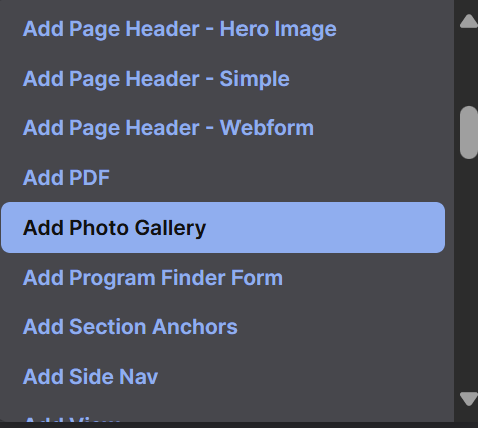
Step 2: Add the Row
A dropdown menu will appear, select "Photo Gallery" which will now create a Photo Gallery row on your page.
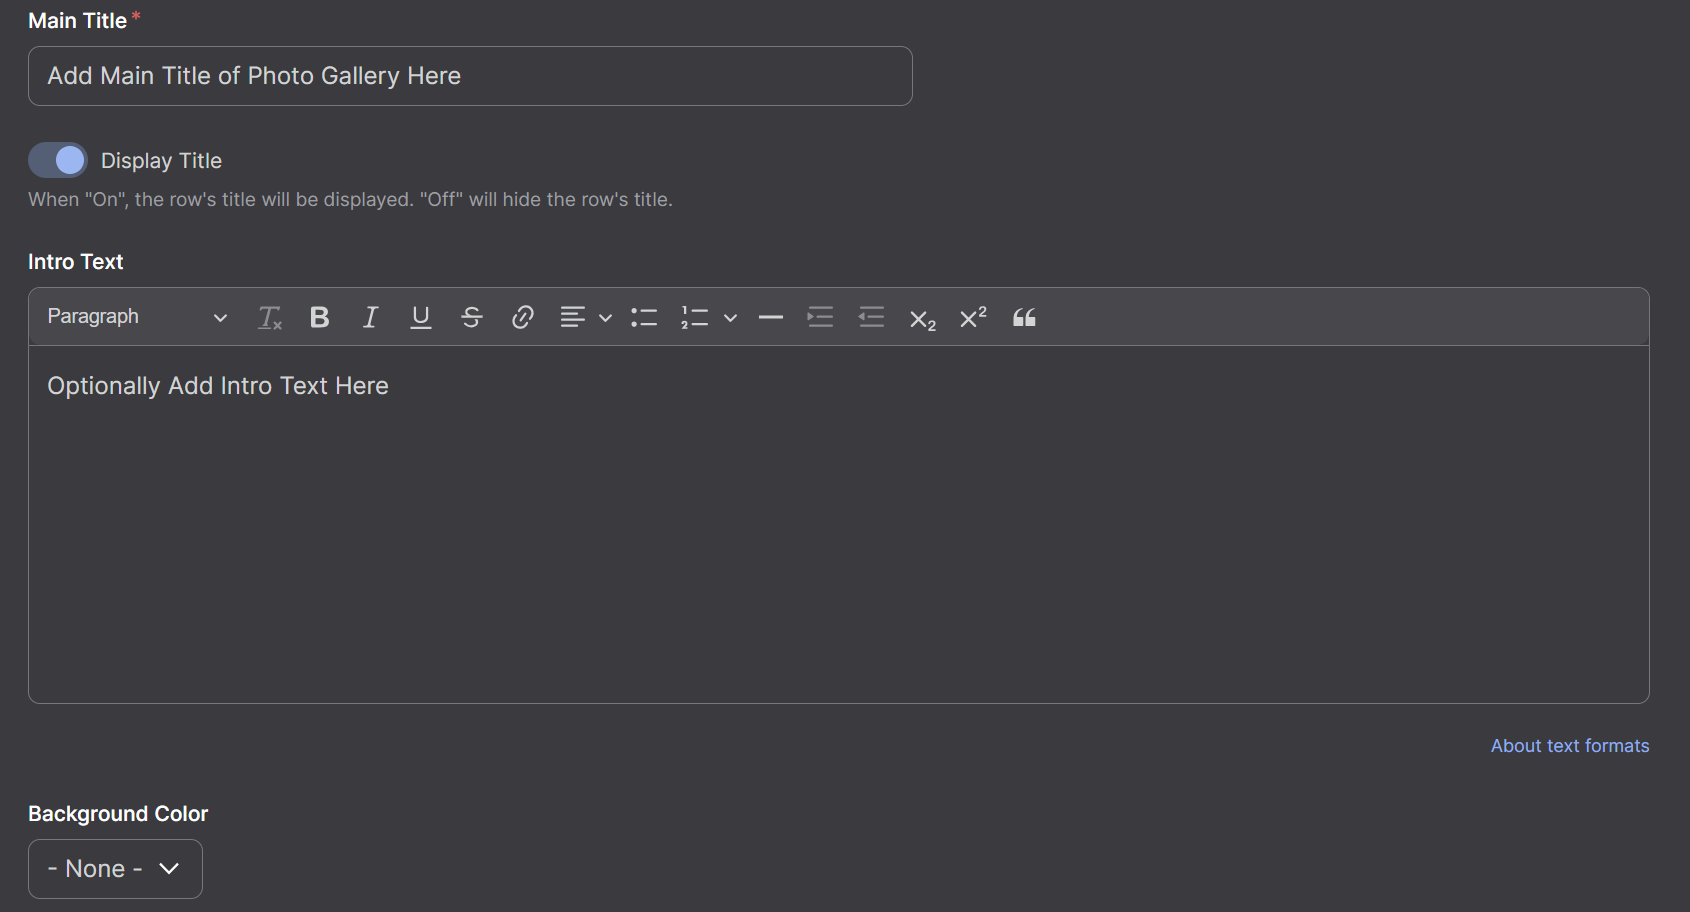
Step 3: Required Fields for Gallery
Insert a Main Title for your Photo Gallery. This is the only required box for a Photo Gallery. Add Intro Text and select whether to display the title using the Display Title button. Select a Background Color which is also not required.
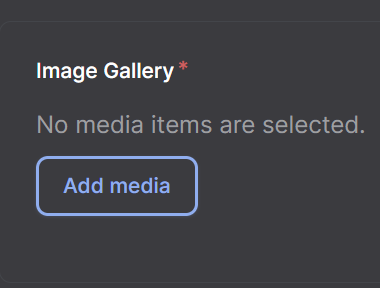
Step 4: Adding Images
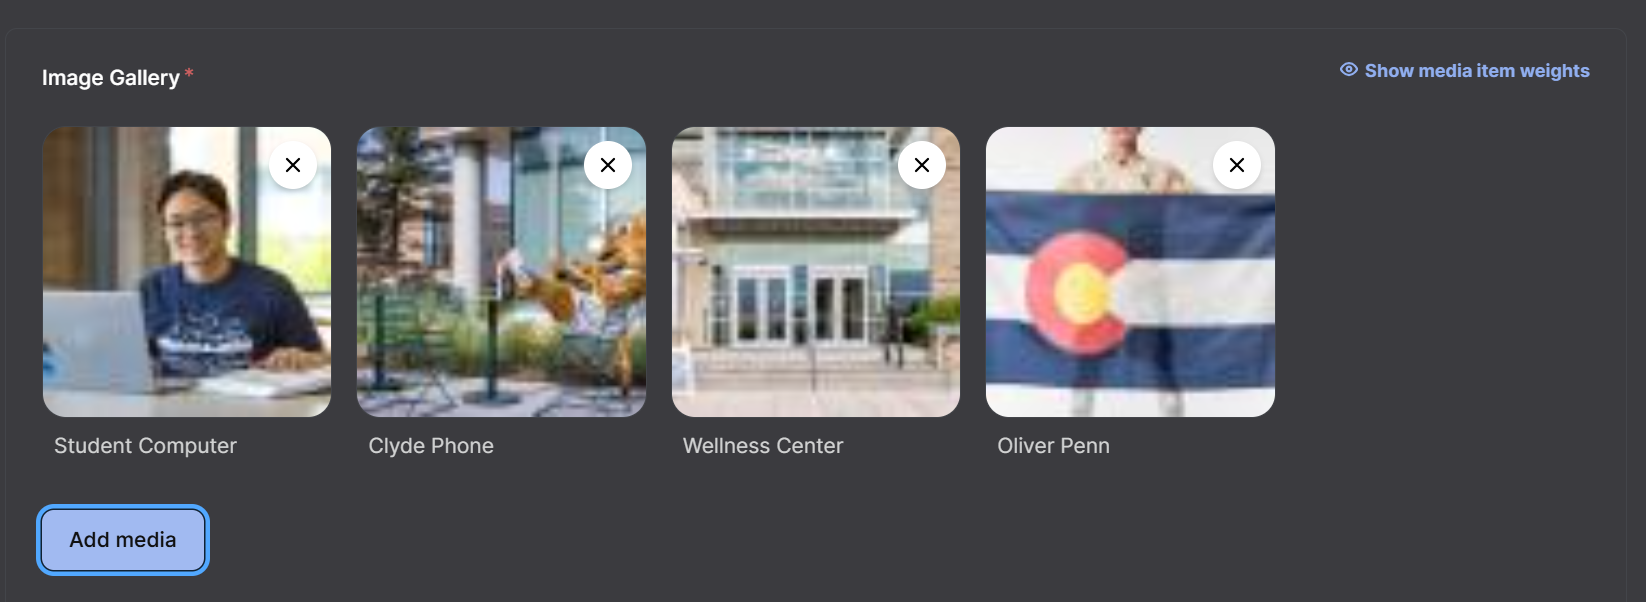
To add images, select the Add media button. Images must be uploaded to Drupal before they can be displayed. To learn how to upload images see here. You can also drag your image file into the Add files box in the Add or select media tab to upload them. Once all the images have been uploaded, scroll down and select all the images you want in your Photo Gallery. Multiple photos can be selected, and once selected click Insert Selected. Some photos may not show up on the page and may need to be reformatted.
Step 5: Rearranging Photos
Images can be rearranged by dragging the icon of the images around or removed by clicking the X at the top right of an image icon.
Photo Gallery Video Tutorial
The Photo Gallery row is used to display multiple images on a page at once. Watch our video tutorial to learn how to create and use one.
