Webform - Longform
Step 1: Find the Add Block Button
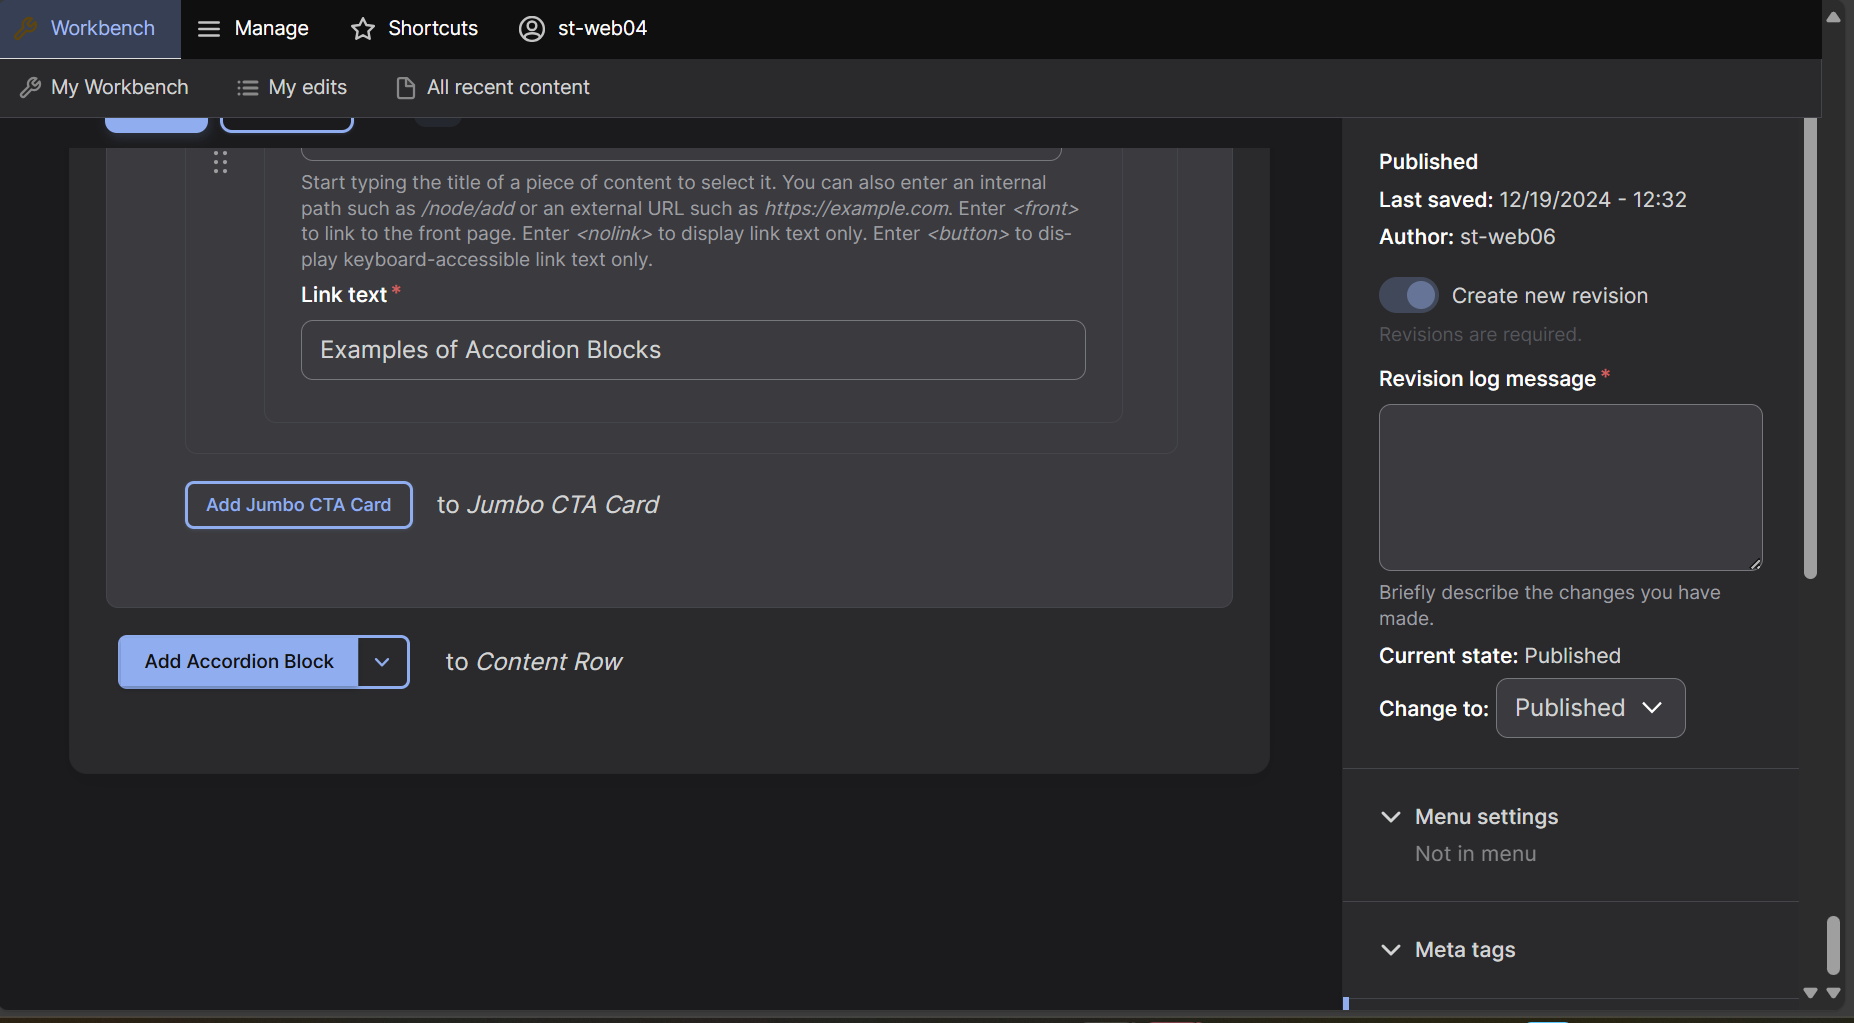
At the bottom of the editing screen select the arrow box next to the "Accordion Block" box.
Step 2: Add the Row
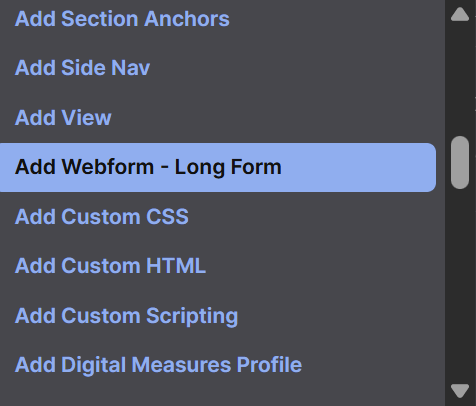
A dropdown menu will appear, select "Webform - Longform" which will now create a Webform - Longform row on your page.
Step 3: Webform Visual Settings
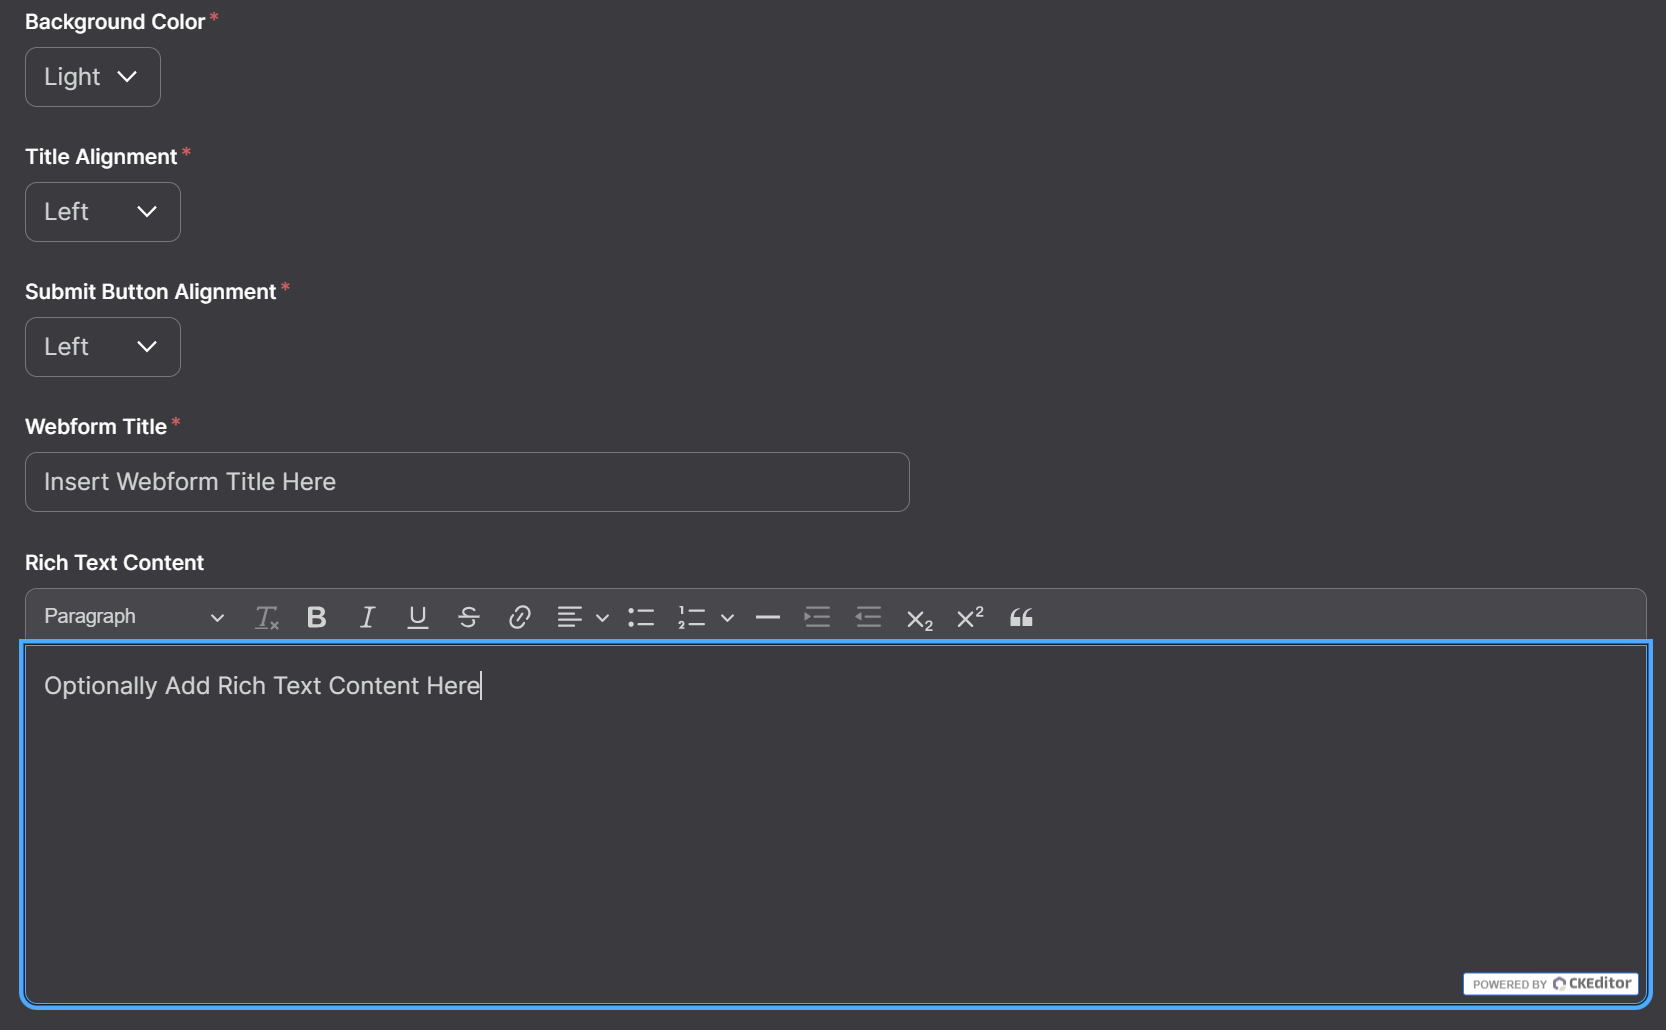
Insert a Title, select the Background Color, Title Alignment, and Submit Button Alignment. You can also add text below the title in the Rich Text Content, is not required.
Step 4: Adding the Webform
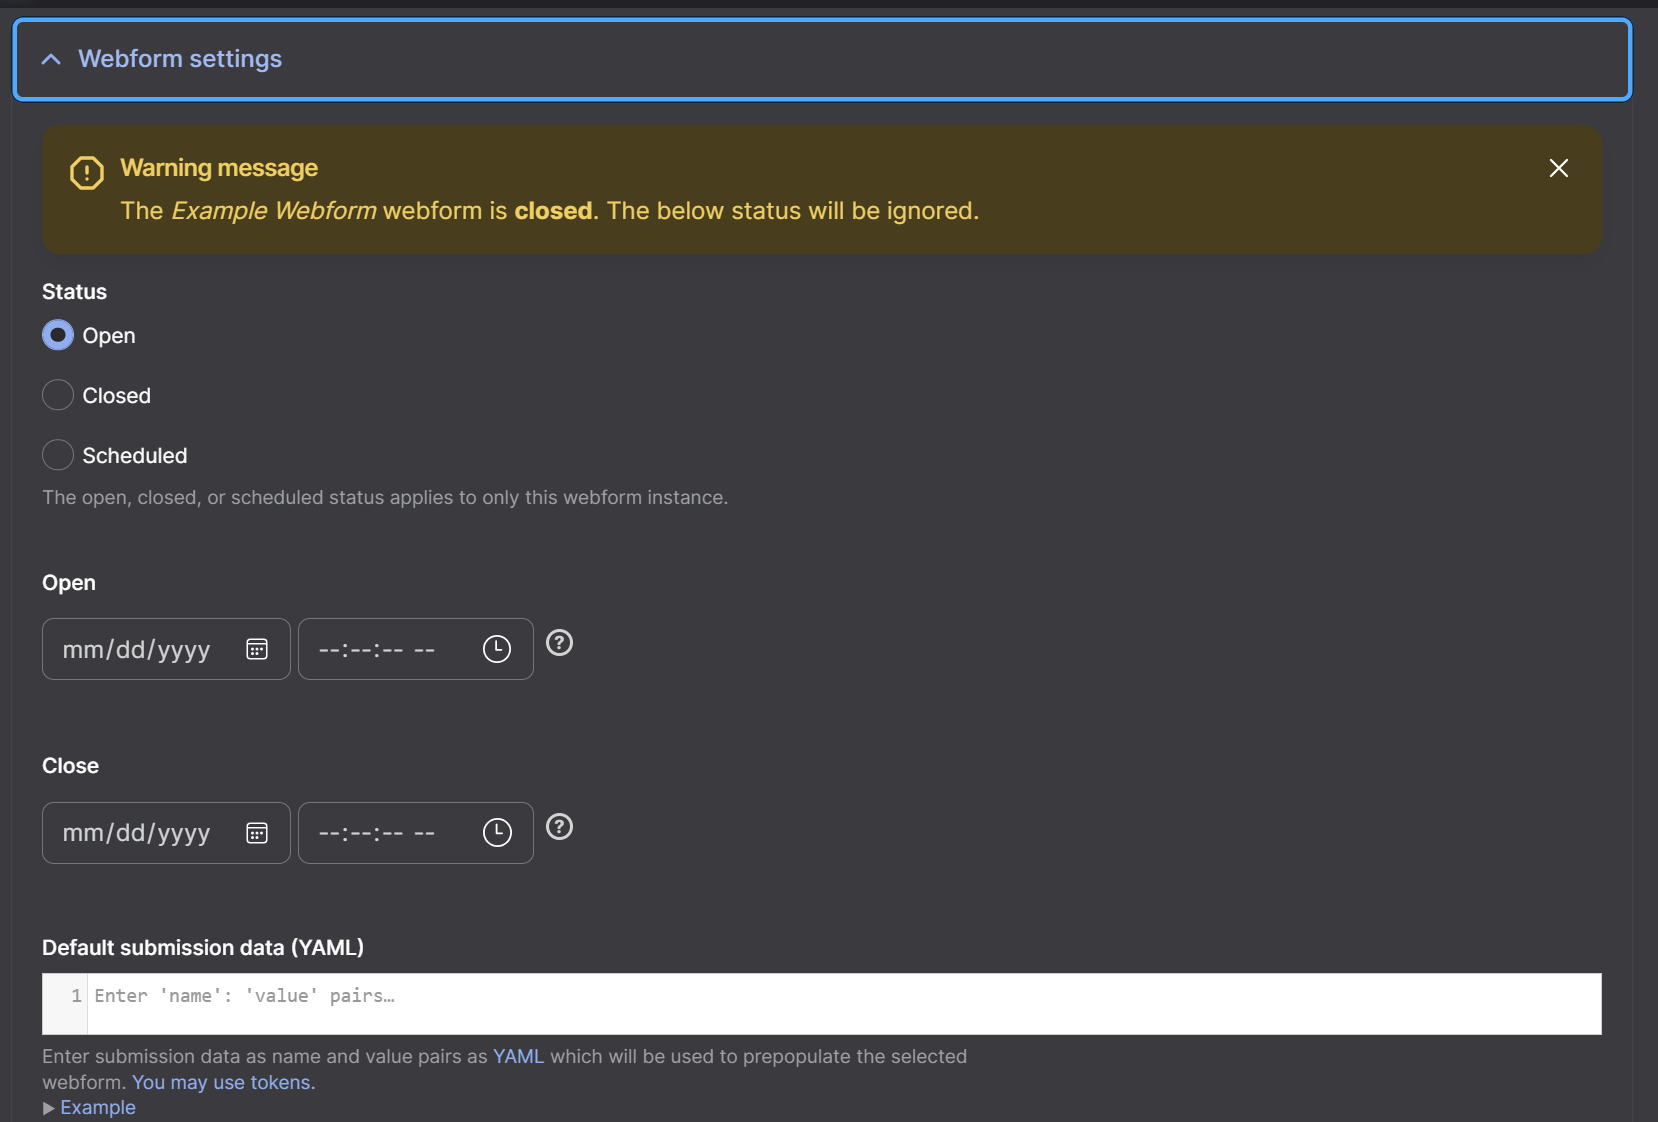
In order to use this row, you must first create or have a webform created. Once it has been created, select the Webform dropdown and select your Webform. You can set the status of the Webform by selecting Webform Settings tab, here you can set the webform to be open, closed, or schedule when it is open. By default, it should be open.
Image
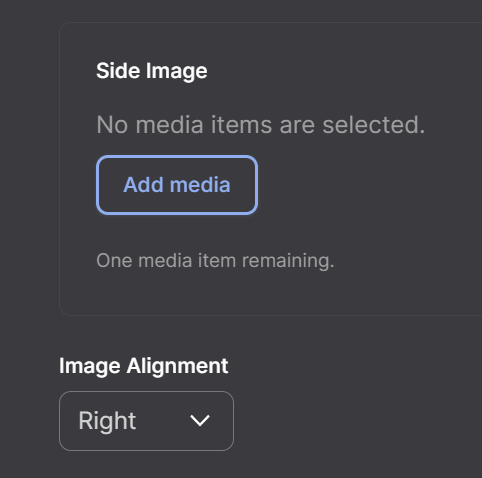
You can also add an image that will appear to the side of the webform. To do this, select the Add media button. An image must be uploaded in the Add file box or can be selected from the images already uploaded. Once selected, select Insert selected. To learn more about image uploading see here. Once an image has been selected, choose the alignment in the Image Alignment dropdown.
Webform - Longform Video Tutorial
The Webform - Longform row is used to display previously created webforms on your page. Watch our video tutorial to learn how to create and use one.
