Single Page
Step 1: Creating a Single Page
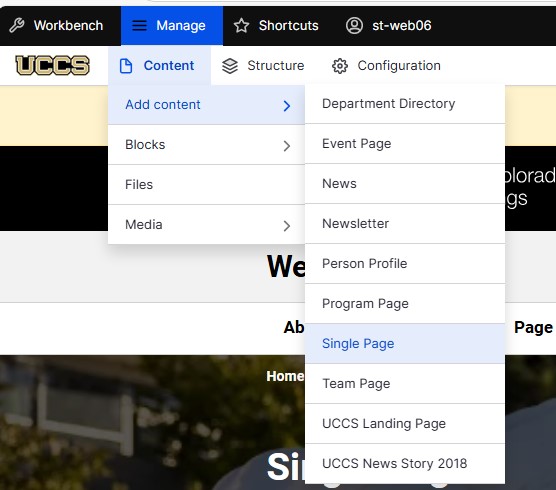
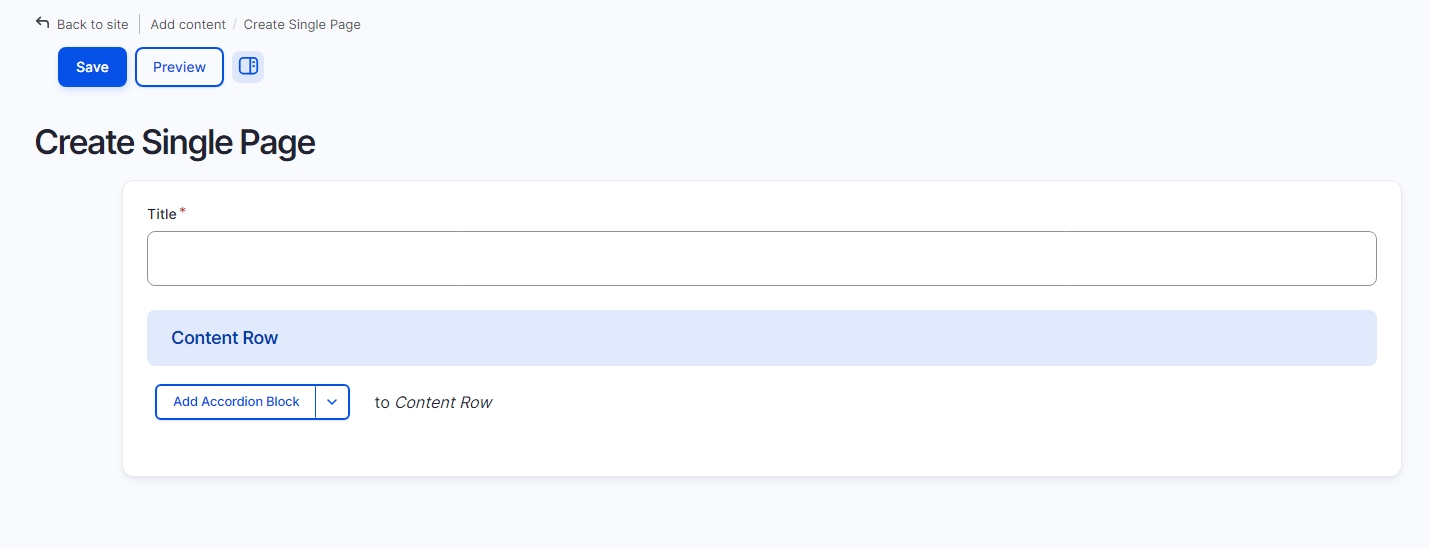
At the top of the screen, select Manage and then select the Content dropdown menu. From there, open the Add Content drop down and select Single Page. This will create a new Single page.
Step 3: Moving Rows
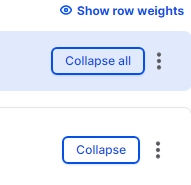
Row types can be collapsed or moved around in the single page. To collapse a row type, select Collapse at the top of the row. To collapse all of the rows on your page select the Collapse all button at the top of the page. Once rows have been collapsed, moving them around is much easier. To move a row, select and hold on the six dots and drag up and down. The order of the rows is the order they will appear on the page.
Page Editing
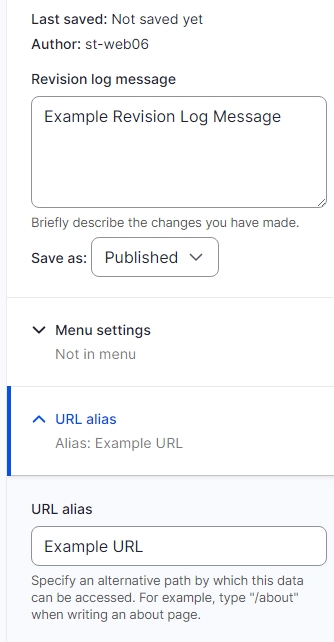
On the right-hand side of the screen, there are tools that will allow you to publish and edit the URL and menu, for a full tutorial see here. To publish the page, select the Save as: dropdown menu and select Published. To change the URL (the link to the page) select the URL alias dropdown and deselect Generate automatic URL alias. You can then create your own URL for that page, for a full tutorial see here. Once everything has been updated select the blue Save button at the top left of the screen


