Step 1: Find the Add Block Button
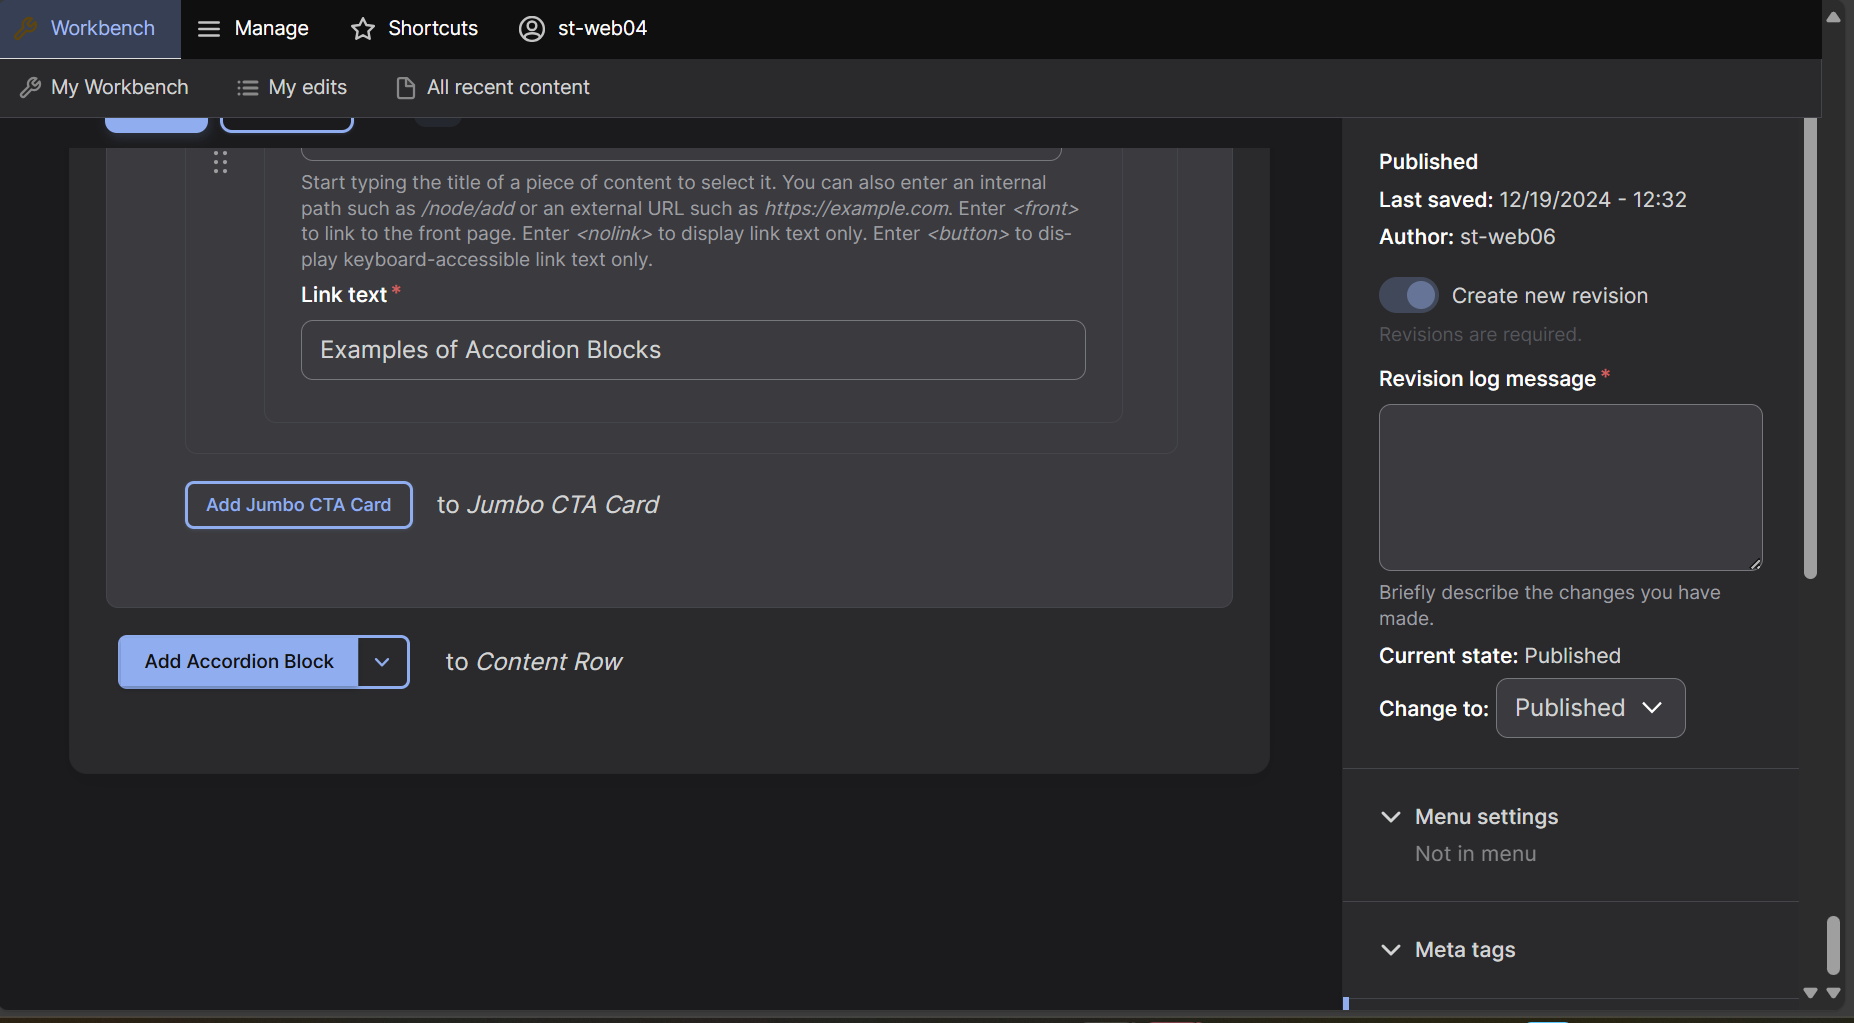
At the bottom of the editing screen select the arrow box next to the "Accordion Block" box.
Step 2: Add the Row
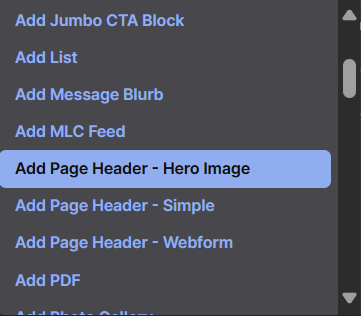
A dropdown menu will appear, select "Page Header - Hero Image" which will now create a Page Header - Hero Image row on your page.
Step 3: Adding Header Text
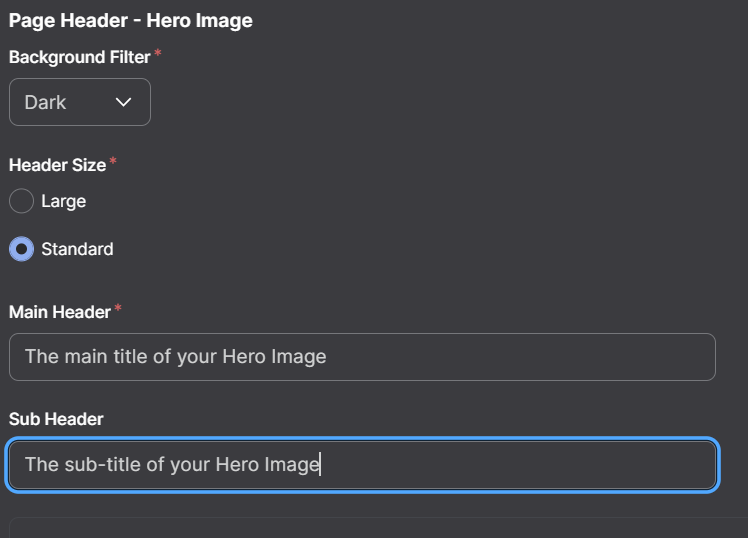
Select a Background Filter, a Header Size, and insert a Main Header. A Sub Header can also be inserted but is not required.
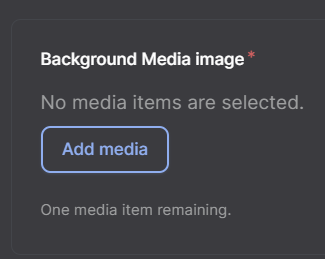
Background Media Image
Finally, add a Background Image to your Hero Image row. To add an image, it must be uploaded in the Media section. If it is, select Add media, select the image and select Insert selected. If not, upload the image by dragging the image into the Add file box or selecting Select Files and selecting the file for your image. To see how to upload images using Drupal see here. For best results, the image should be wider and shorter, it may be blurry and need to be reformatted.
Step 1: Find the Add Block Button
At the bottom of the editing screen select the arrow box next to the "Accordion Block" box
.
Step 2: Adding the Block
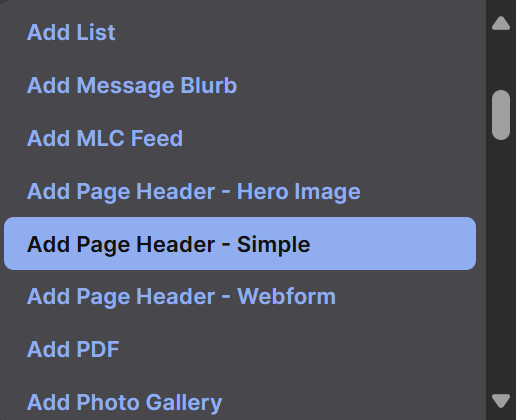
A dropdown menu will appear, select "Page Header - Simple" which will now create a Page Header - Simple Row on your page.
Step 3: Add Header Information
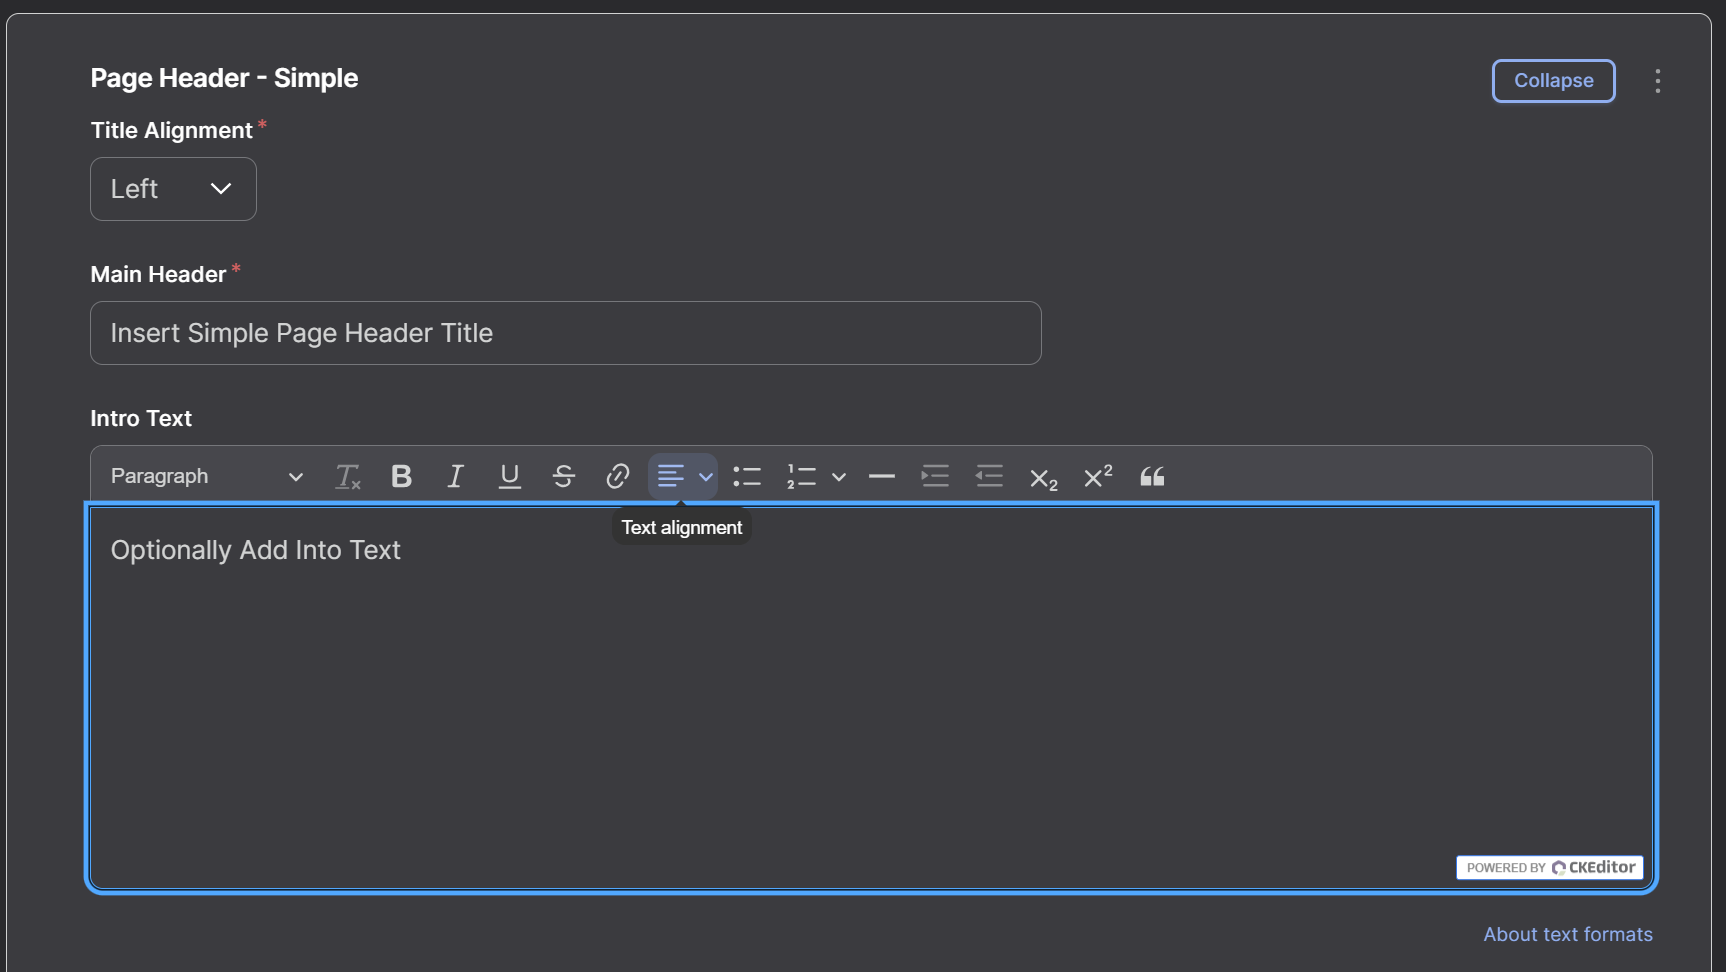
Select a Title Alignment and insert a Main Header. You can also add Intro Text, but it is not required for a Simple Header.
Step 1: Find Add Block Button
At the bottom of the editing screen select the arrow box next to the "Accordion Block" box.
Step 2: Add Block
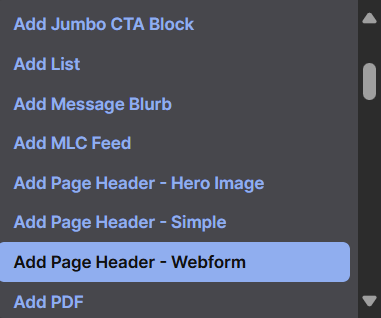
A dropdown menu will appear, select "Page Header - Webform" which will now create a Page Header - Webform Row on your page.
Webforms
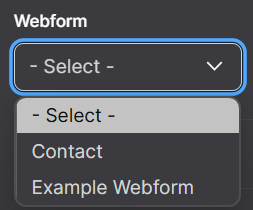
In order to insert a Webform, a Webform must be created and saved to Drupal. To learn how to create a webform, see here. Once it has been created, click on the Webform dropdown and select the webform.
Step 3: Add Header Information
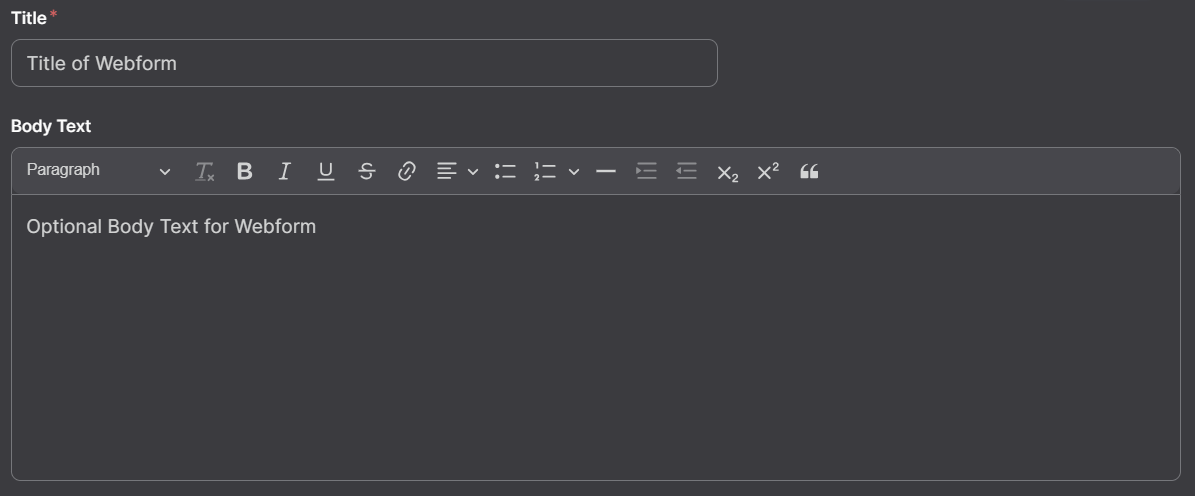
Insert a Title for your webform. You can also insert Body Text that will display under the title. If the Title is hidden, the Body Text will also be hidden. Body Text is not required for your header.
Step 4: Header Settings
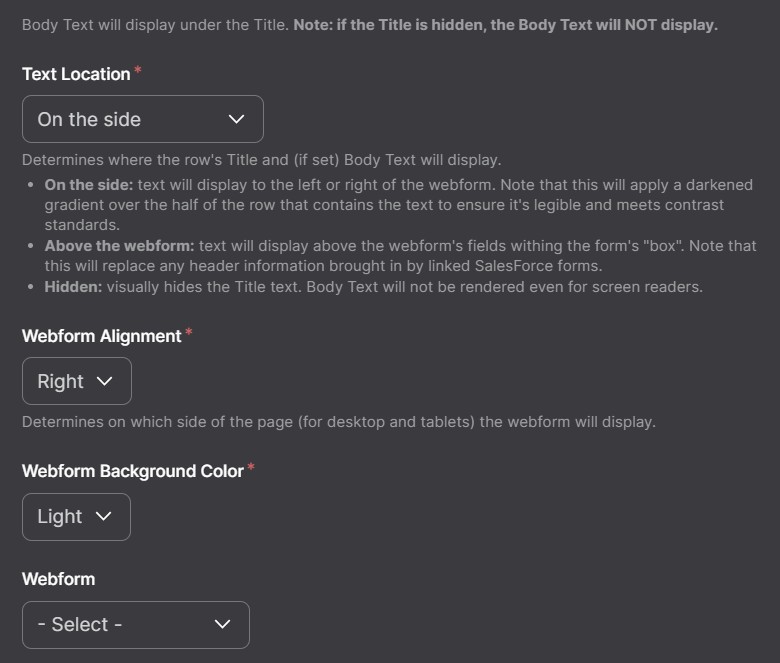
Select the Text Location, Webform Alignment and Webform Background Color. You must also select Webform Mobile Style which is how the webform will appear to a mobile user.
Webform Settings
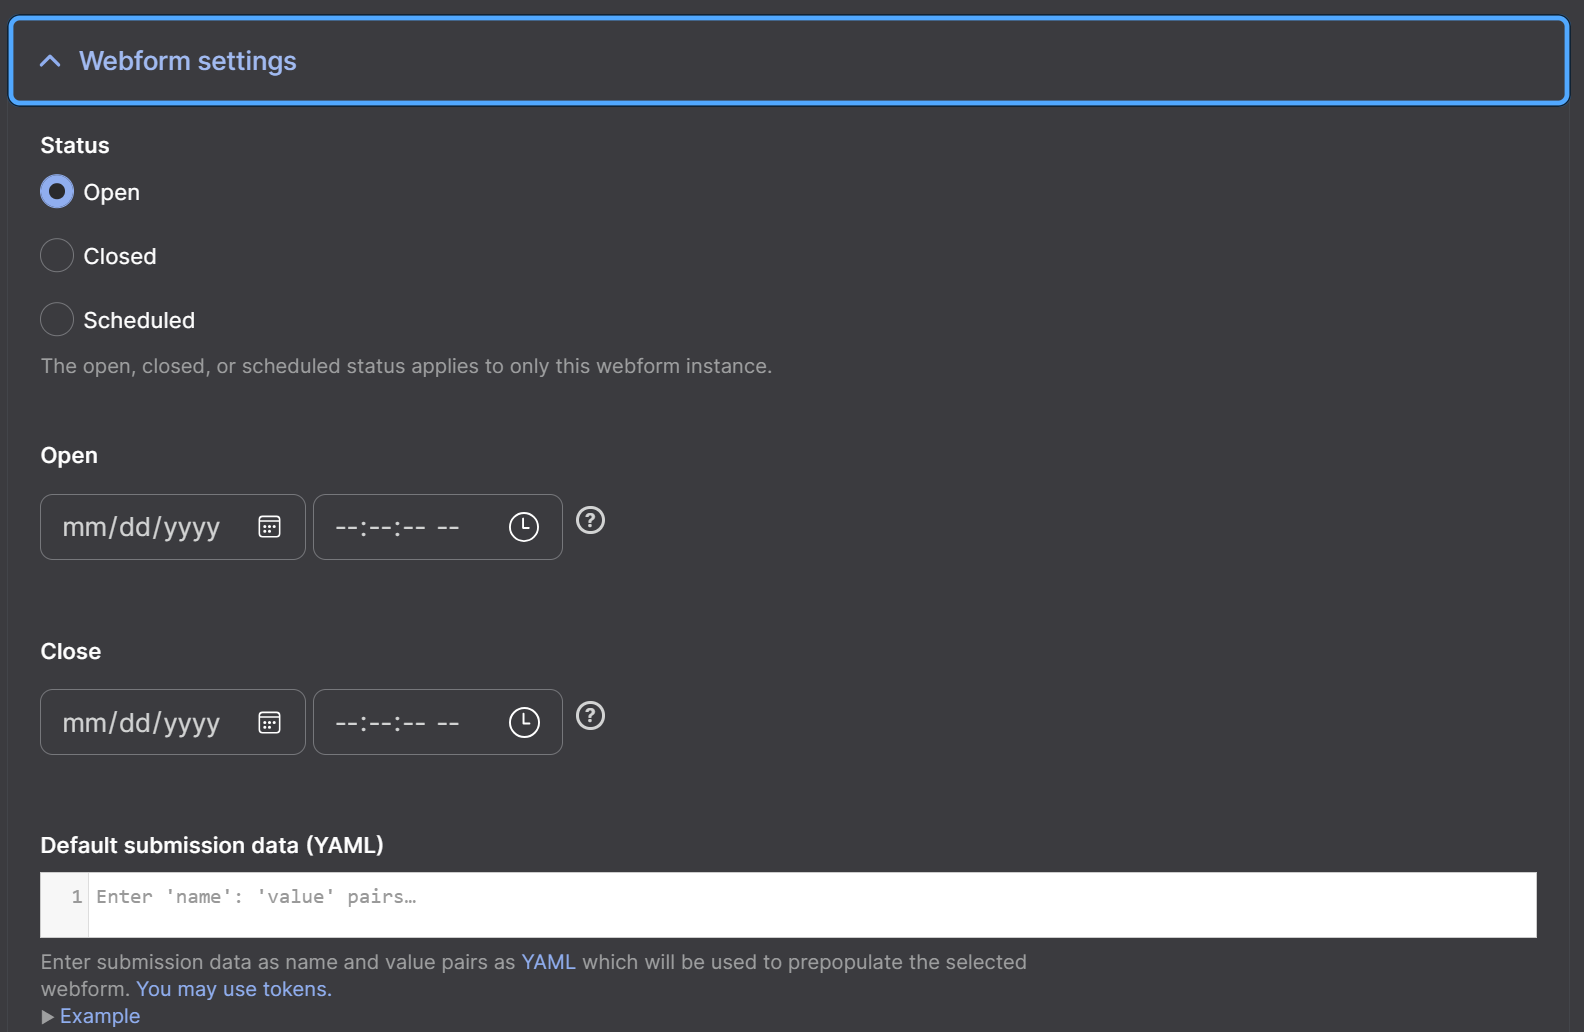
Select the Webform Settings tab to open a tab showing the webform options. Here, you can select the status of the webform, whether it is open or closed. You can also schedule when the webform is open by selecting Scheduled and selecting the dates that the webform will be open. By default, leave the webform open.
Salesforce Form URL
If you have a Salesforce Form URL, place the link into the Salesforce Form URL which will replace the selected webform.
Step 6: Background Image
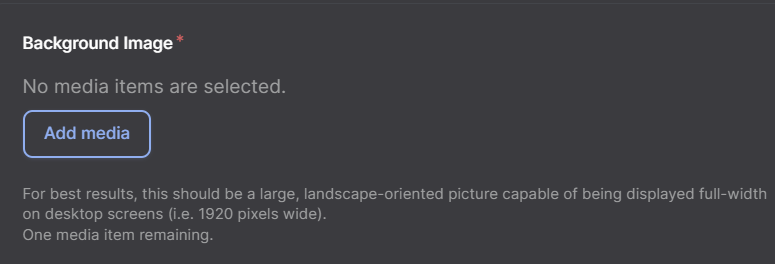
Finally, add a Background Image to your webform. To add an image, it must be uploaded in the Media section. If it is, select Add media, select the image and select Insert selected. If not, upload the image by dragging the image into the Add file box or selecting Select Files and selecting the file for your image. To see how to upload images using Drupal see here. For best results, the image should be large, landscape oriented and extremely wide (e.g. 1920 pixels).
Page Headers Video Tutorial
Page Headers rows are used at the top of each page to title and caption them. There are three different types of headers, Hero Image, Simple, and Webform. Watch our video tutorial to learn how to create and use them.
